Last Updated on March 23, 2026 by Peperomia obtusifolia
If you love your Baby Rubber Plant (Peperomia obtusifolia) and want more of them — for free — stem cutting propagation is your fastest, most reliable method. No special equipment, no waiting months, and no guesswork. This complete guide walks you through every step, from choosing the right cutting to potting your rooted baby plant.
Why Stem Cuttings Are the Fastest Method
Peperomia obtusifolia can be propagated by leaf cuttings, division, or stem cuttings. Of these, stem cuttings consistently root fastest — typically within 3–5 weeks — because the cutting carries more stored energy and already has nodes from which roots will emerge.
Leaf cuttings are slower and less reliable. Division works but requires a mature, multi-stemmed plant. Stem cuttings win every time for speed.
What You’ll Need Before You Start
Getting your supplies ready before you take a cutting makes the entire process smoother. Here’s everything you need:
Essential Tools
- Sharp, sterile pruning shears or scissors — clean cuts prevent disease
- Small pot or propagation tray (2–4 inches is ideal)
- Well-draining propagation mix — a 50/50 mix of perlite and potting soil, or a dedicated propagation mix
🛒 Recommended Propagation Mix → (affiliate link) (A light, well-aerated mix makes a measurable difference in rooting speed — this one is our top pick for Peperomias.)
- Rooting hormone powder or gel (optional, but speeds up rooting noticeably)
🛒 Best Rooting Hormone for Peperomia → (affiliate link) (Even a budget rooting gel cuts rooting time by up to a week — worth every penny.)
- Plastic bag or humidity dome — to maintain moisture
- Spray bottle — for gentle misting
- Marker and label — optional but handy
Step-by-Step: How to Propagate Peperomia Obtusifolia from Stem Cuttings
Step 1 — Choose the Right Stem
Select a healthy, non-flowering stem that is:
- At least 3–4 inches long
- Has 2–4 leaves
- Shows no signs of yellowing, damage, or pests
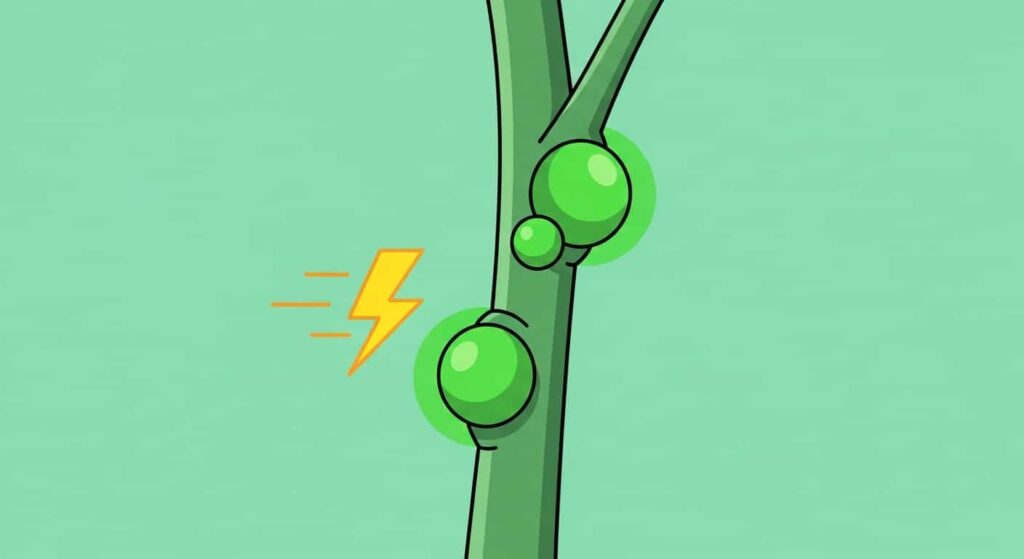
Avoid soft, leggy, or stressed stems — they root poorly. The ideal cutting comes from a firm, actively growing stem with a visible node (the bump where a leaf meets the stem).
Pro Tip: Take your cutting in spring or early summer when the plant is in active growth. Propagation success rates are noticeably higher during the growing season.
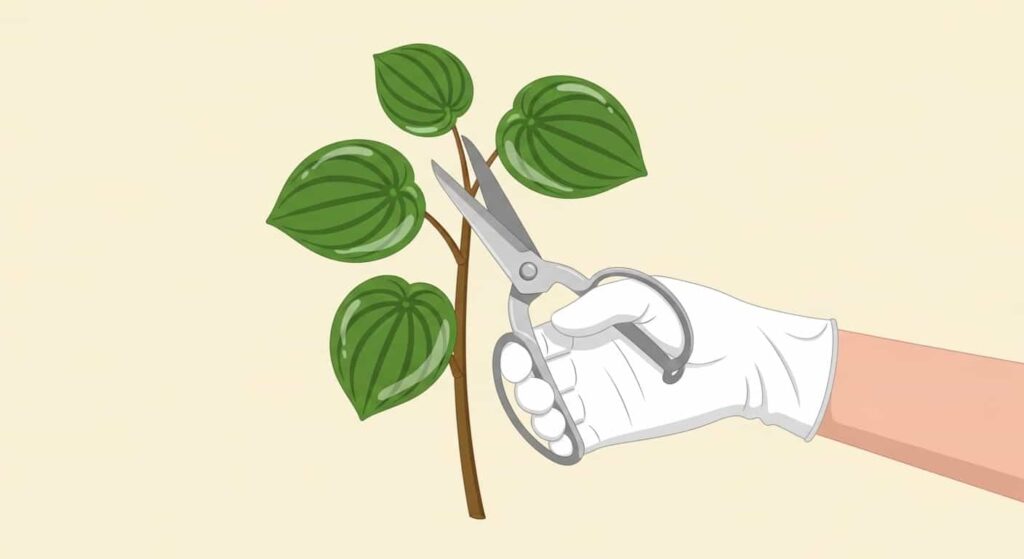
Step 2 — Take the Cutting
Using your clean, sharp scissors, cut just below a node at a 45-degree angle. This angled cut maximizes the surface area exposed for rooting.
Your cutting should have:
- At least one or two nodes
- 2–3 leaves at the top
- A clean cut with no ragged edges
Remove any leaves from the bottom half of the cutting so they don’t rot when buried in the soil.
Step 3 — Let It Callous (Optional but Recommended)
Set the cutting aside in a warm, dry spot for 1–2 hours to let the cut end callous over slightly. This small step dramatically reduces the chance of stem rot.
Step 4 — Apply Rooting Hormone
Dip the cut end into rooting hormone powder or gel, tapping off any excess. Coat just the bottom 0.5–1 inch of the stem.
🛒 Shop Rooting Hormone Gel → (Gel formulas adhere better to smooth Peperomia stems than powder — this brand has excellent reviews from houseplant growers.)
This step is optional, but if you want the fastest rooting possible, don’t skip it.
Step 5 — Plant the Cutting
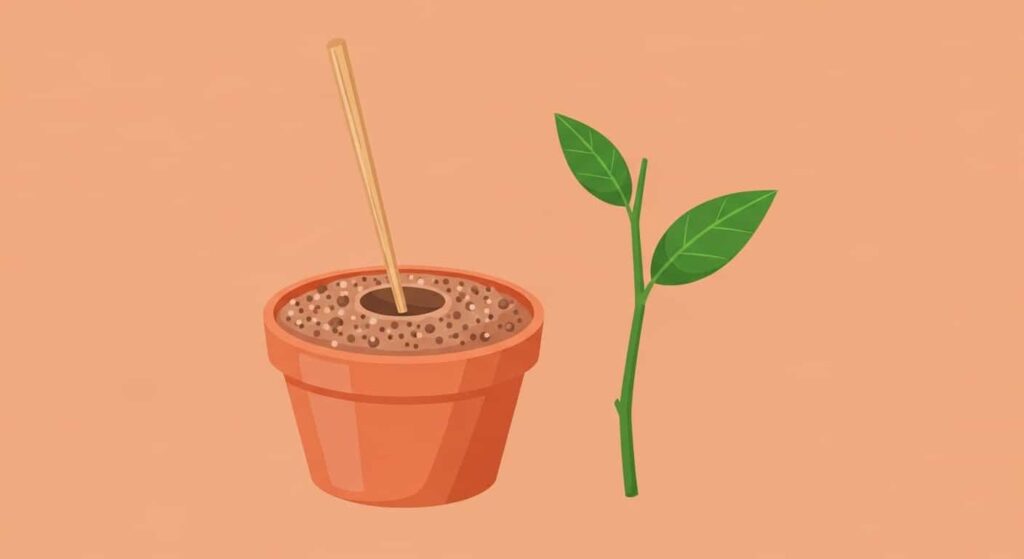
- Fill your small pot with your propagation mix and moisten it lightly.
- Make a small hole in the center with a pencil or chopstick — don’t just push the stem in, as this rubs off the hormone.
- Insert the cutting 1–1.5 inches deep, burying at least one node.
- Gently firm the soil around the stem to hold it upright.
Step 6 — Create a Humidity Tent
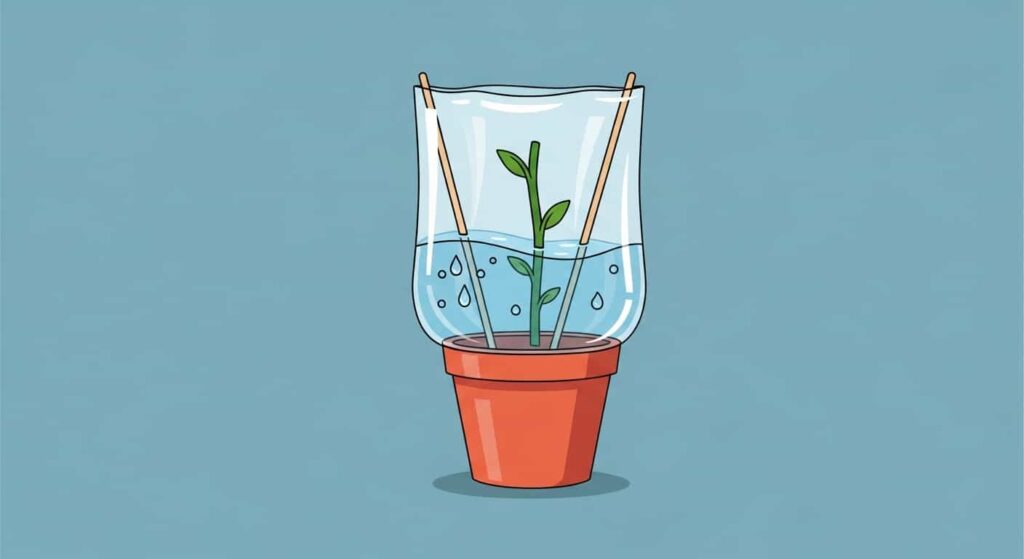
Cover the pot loosely with a clear plastic bag or humidity dome. This traps moisture and creates a mini greenhouse effect — essential for encouraging root development.
Leave a small gap for airflow to prevent mold.
🛒 Propagation Humidity Dome (Set of 5) → (Reusable, fits standard seedling trays, and makes a visible difference in rooting success. A must-have if you propagate often.)
Step 7 — Place in the Right Location
Put your cutting in a spot with:
- Bright, indirect light — never direct sun, which will scorch and dry out the cutting
- Stable temperature between 65–80°F (18–27°C)
- Away from cold drafts or heating vents
A windowsill with filtered light or a few feet back from a south-facing window works well.
Step 8 — Water and Wait
- Check moisture every 2–3 days — the soil should stay lightly moist, not wet
- Mist the inside of the plastic bag lightly if condensation disappears
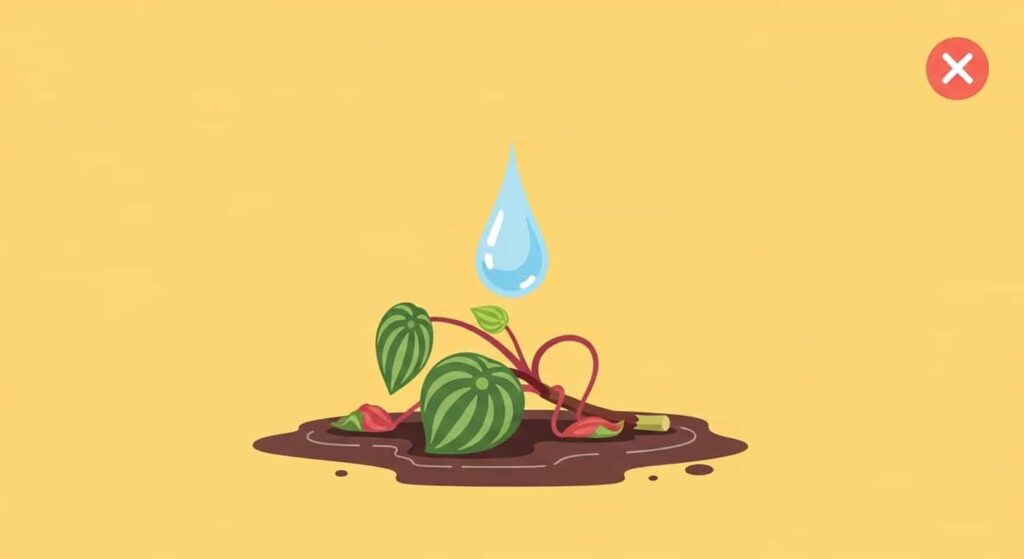
- Do not overwater — Peperomia roots rot easily in soggy soil
After 3–5 weeks, gently tug the cutting. Resistance means roots have formed. You can also look for new leaf growth as a sign of successful rooting.
When and How to Transplant Your Rooted Cutting
Once you feel resistance on a gentle tug and see new leaf growth, your cutting is ready to move into its permanent home.
- Choose a pot just 1–2 inches larger than the root ball — Peperomias prefer to be slightly root-bound
- Use well-draining potting mix — a mix formulated for succulents or tropical plants works great
🛒 Best Potting Mix for Peperomia → (This mix drains perfectly and is pH-balanced for tropical houseplants — our go-to for all Peperomia varieties.)
- Water lightly after transplanting and place in bright indirect light
- Hold off on fertilizing for the first 4–6 weeks to avoid stressing the young roots
Propagation in Water: Does It Work for Peperomia Obtusifolia?

Yes — water propagation works, but it is slower than soil propagation and requires an extra transplanting step.
If you prefer water propagation:
- Place the cutting in a small glass or vase with clean water
- Submerge only the bottom node, keeping leaves above water
- Change the water every 3–4 days to prevent rot and bacteria
- Move to soil once roots are at least 1 inch long
🛒 Glass Propagation Stations (Set of 3) → (These look beautiful on a windowsill and make water propagation easy to monitor — a popular choice for plant parents who love watching roots grow.)
Common Propagation Mistakes to Avoid
| Mistake | Why It’s a Problem | Fix |
|---|---|---|
| Overwatering | Causes stem rot before roots form | Keep soil barely moist |
| Too little light | Slows rooting significantly | Bright indirect light is essential |
| Skipping callous time | Increases rot risk | Wait 1–2 hours after cutting |
| Pot too large | Soil stays wet too long, causing rot | Use a 2–4 inch pot |
| Using dull scissors | Crushes rather than cuts the stem | Sterilize and sharpen tools first |
| Propagating in winter | Plant is dormant, slow to root | Propagate in spring/summer |
How Long Does It Take to Root?
Under ideal conditions:
- Soil propagation with rooting hormone: 3–4 weeks
- Soil propagation without rooting hormone: 4–6 weeks
- Water propagation: 4–7 weeks
Warm temperatures (above 70°F/21°C) and high humidity meaningfully speed up rooting.
Caring for Your New Peperomia Obtusifolia Plant
Once your propagated cutting has established in its pot, care is straightforward:
- Light: Bright indirect light; tolerates low light but grows slowly
- Water: Allow the top 1–2 inches of soil to dry between waterings
- Fertilizer: Feed monthly with a balanced liquid fertilizer during spring and summer
🛒 Balanced Liquid Fertilizer for Houseplants → (A diluted liquid fertilizer applied monthly keeps Peperomias lush and compact — this formula is gentle enough for young propagated plants.)
- Humidity: Tolerates average household humidity; appreciates 40–60%
- Temperature: Keep above 60°F (15°C); protect from cold drafts
Frequently Asked Questions
Can I propagate Peperomia obtusifolia from a single leaf?
Yes, but it is much slower and less reliable than stem cuttings. Leaf cuttings may take 8–12 weeks to develop roots and often fail. Stick to stem cuttings for the fastest results.
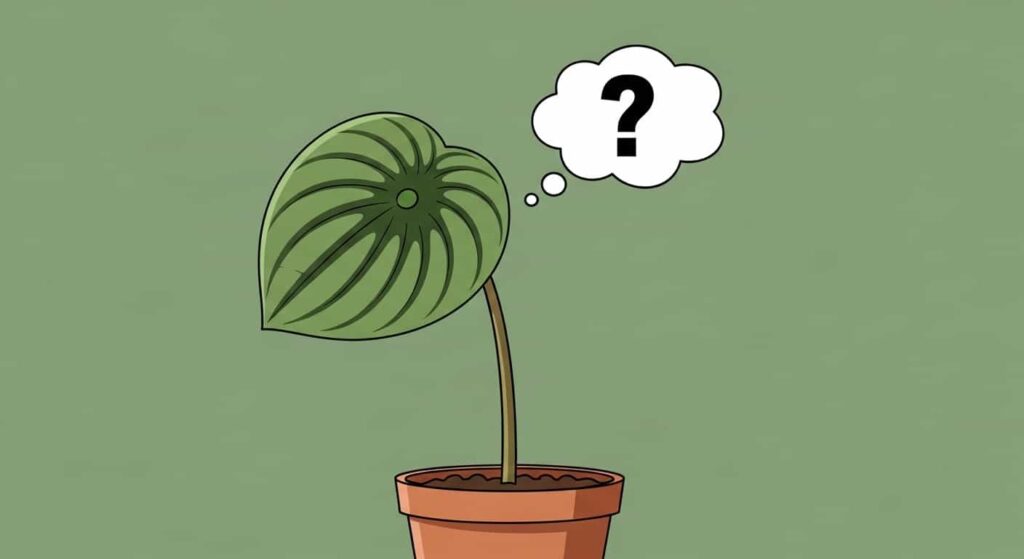
Why is my cutting wilting after planting?
Some wilting in the first 24–48 hours is normal as the cutting adjusts. Make sure the humidity tent is in place, and the soil is lightly moist. If wilting continues beyond 3 days, check for stem rot at the base.
Do I need rooting hormone?
No — Peperomia obtusifolia roots readily without it. But using rooting hormone noticeably speeds up the process and improves success rates, especially in cooler conditions.
How many cuttings can I take from one plant?
Take no more than 25–30% of the plant’s stems at one time to avoid stressing the mother plant. A healthy, mature plant can comfortably provide 3–5 cuttings.
Can I propagate a variegated Peperomia obtusifolia the same way?
Absolutely. The same method works for variegated varieties like Peperomia obtusifolia ‘Variegata’. Just note that variegated cuttings may root slightly more slowly due to lower chlorophyll content.
Final Thoughts
Propagating Peperomia obtusifolia from stem cuttings is one of the most satisfying and beginner-friendly plant projects you can do. Within a month, a single cutting from your existing plant becomes a thriving new baby Rubber Plant — perfect for expanding your collection, filling empty spots around the home, or gifting to fellow plant lovers.
The key is clean tools, the right mix, a humidity tent, and patience. Follow the steps in this guide and you’ll have well-rooted, healthy new plants faster than you’d expect.