Last Updated on March 23, 2026 by Peperomia obtusifolia
If you’ve ever looked at your lush, glossy Peperomia obtusifolia (Baby Rubber Plant) and wished you had ten more of them, you’re in luck. This compact houseplant is one of the easiest to multiply — and you only need a single healthy leaf to get started.
Leaf propagation is a rewarding, low-cost way to expand your plant collection, share cuttings with friends, or simply back up your favorite plant. In this complete guide, you’ll learn every method, every tool, and every mistake to avoid — so your new plantlets thrive from day one.
What Is Peperomia Obtusifolia?
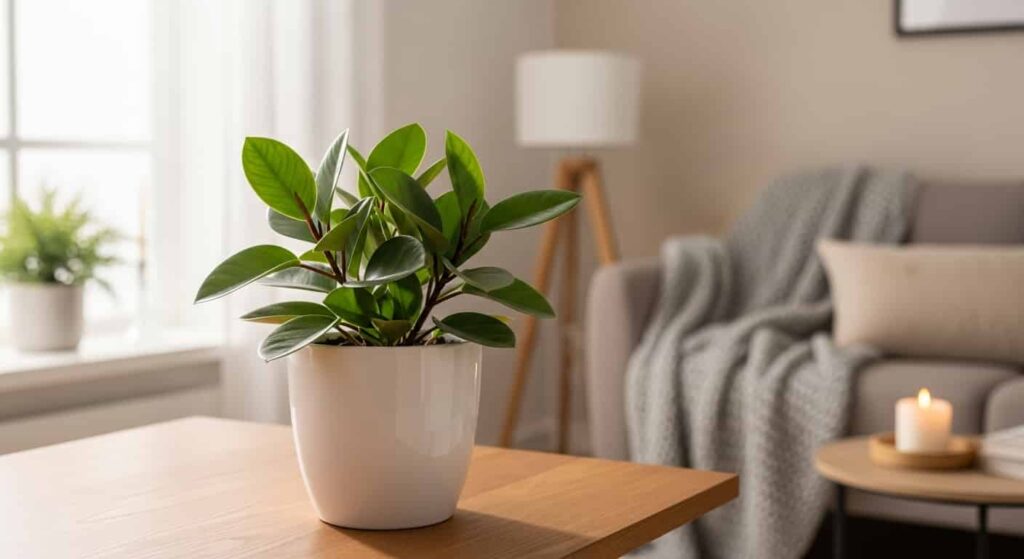
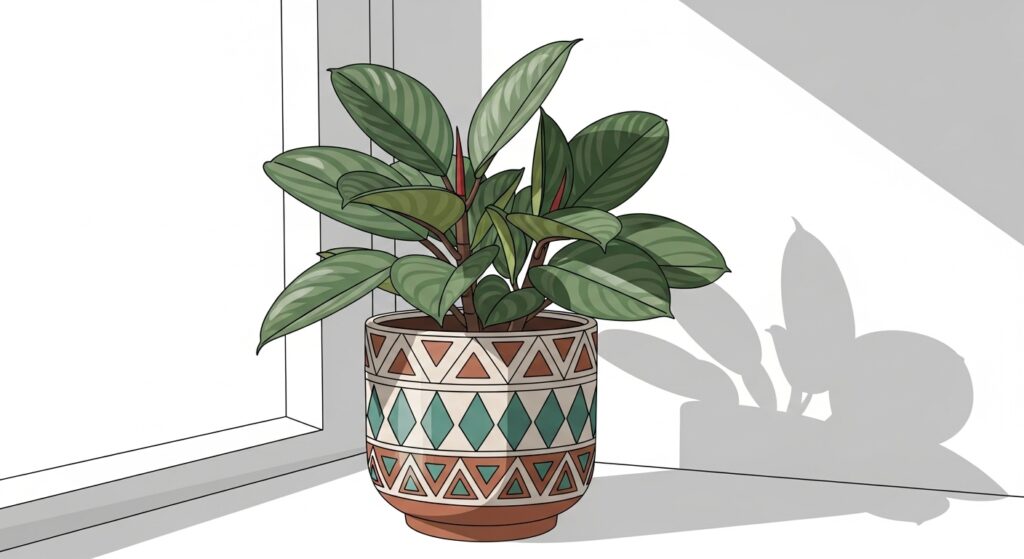
Peperomia obtusifolia, commonly called the Baby Rubber Plant or Pepper Face, is a tropical succulent-like houseplant in the Piperaceae family. It features thick, waxy, dark-green leaves on semi-succulent stems that store water efficiently — a trait that makes it incredibly forgiving for beginner propagators.
Key characteristics:
- Light: Bright indirect light; tolerates low light
- Water: Allow the soil to dry between waterings
- Humidity: Adapts to average home humidity
- Temperature: 65–80°F (18–27°C)
- Toxicity: Non-toxic to pets and humans
Its semi-succulent nature is precisely why leaf propagation works so well — each leaf holds enough stored energy to fuel the development of new roots and plantlets.
Can You Propagate Peperomia Obtusifolia from a Leaf?
Yes — absolutely. Unlike many houseplants that require a node or stem, Peperomia obtusifolia can be propagated from a leaf alone, with or without a petiole (leaf stem). This sets it apart from most tropical plants and makes it a favorite among propagation enthusiasts.
There are three primary methods:
- Leaf + Petiole in water
- Leaf + Petiole in soil/mix
- Leaf cutting (whole leaf or cut leaf sections) in a moist medium
All three methods work. The best choice depends on your setup and how quickly you want results.
Best Time to Propagate
Timing affects the success rate. The best window is:
- Spring (March–May): ✅ Ideal — active growing season, fastest rooting
- Early Summer (June–July): ✅ Good — warm temperatures accelerate growth
- Late Summer / Fall: ⚠️ Possible, but slower
- Winter: ❌ Avoid if possible — low light and cold, slow rooting dramatically
If you’re propagating indoors with grow lights and a heat mat, season matters less. For natural-light setups, stick to spring and early summer.
Tools & Supplies You’ll Need
Gathering the right supplies before you start reduces stress and improves success rates. Here’s what you need:
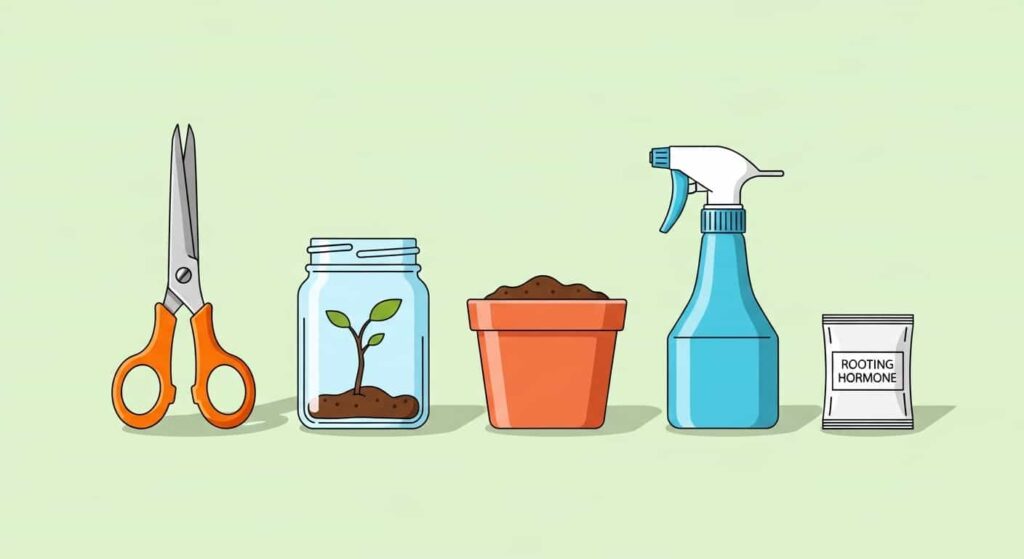
Essential Tools
| Item | Purpose |
|---|---|
| Sharp, sterile scissors or pruning shears | Clean cuts to prevent infection |
| Small propagation pots or trays | Rooting containers |
| Propagation mix (perlite + peat/coco coir) | Fast-draining, airy medium |
| Small glass or jar | For water propagation |
| Rooting hormone powder or gel | Speeds up rooting (optional but helpful) |
| Clear plastic bag or humidity dome | Traps moisture during rooting |
| Spray bottle | Gentle misting without overwatering |
| Grow light (optional) | Provides consistent light year-round |
Recommended Products
🛒 Best Rooting Hormone Powder — View on Amazon Rooting hormone significantly improves the success rate of leaf propagation. Look for products containing IBA (Indole-3-butyric acid) at 0.1%–0.3% concentration.
🛒 Propagation Perlite Mix — View on Amazon A 50/50 blend of perlite and coco coir is ideal for Peperomia propagation — airy, moisture-retaining, and disease-resistant.
🛒 Humidity Dome Propagation Tray — View on Amazon A humidity dome creates the warm, moist environment that young cuttings need to root without drying out.
How to Select the Best Leaf for Propagation
Not every leaf will produce a plantlet. Choose wisely:
✅ Choose leaves that are:
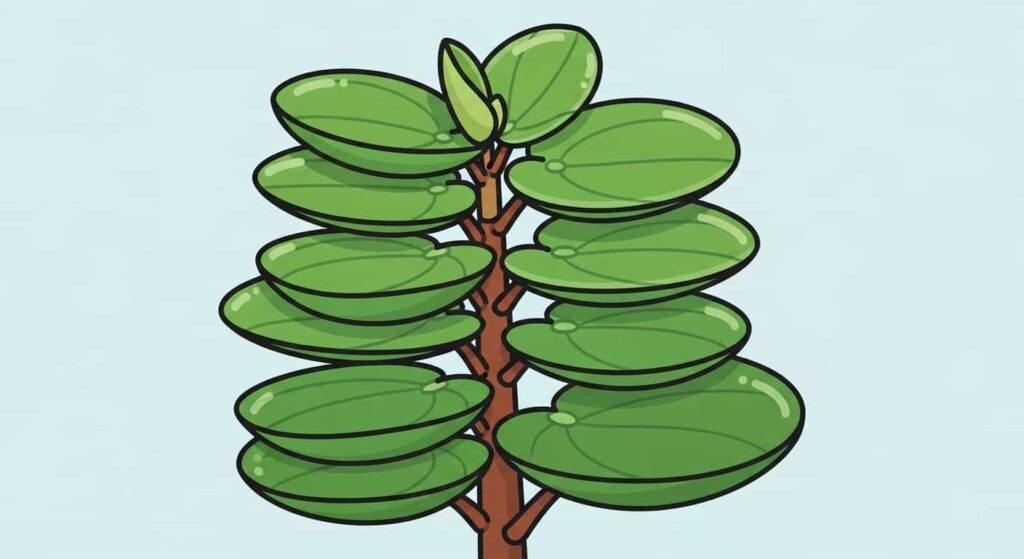
- Mature and fully grown (not the newest growth at the tip)
- Plump, firm, and glossy — signs of good health and stored energy
- Free from yellowing, browning, spots, or soft, mushy areas
- From the middle to the lower section of a healthy stem
❌ Avoid leaves that are:
- Young, small, or from the very tip of the stem
- Wilted, wrinkled, or dehydrated
- Showing signs of pests (check the underside — look for mealybugs, spider mites)
- Damaged, torn, or partially eaten
Pro Tip: Take 4–6 leaves at once. Not every cutting will root successfully — a higher starting number ensures you end up with at least a few strong plantlets.
Method 1: Leaf Propagation in Water
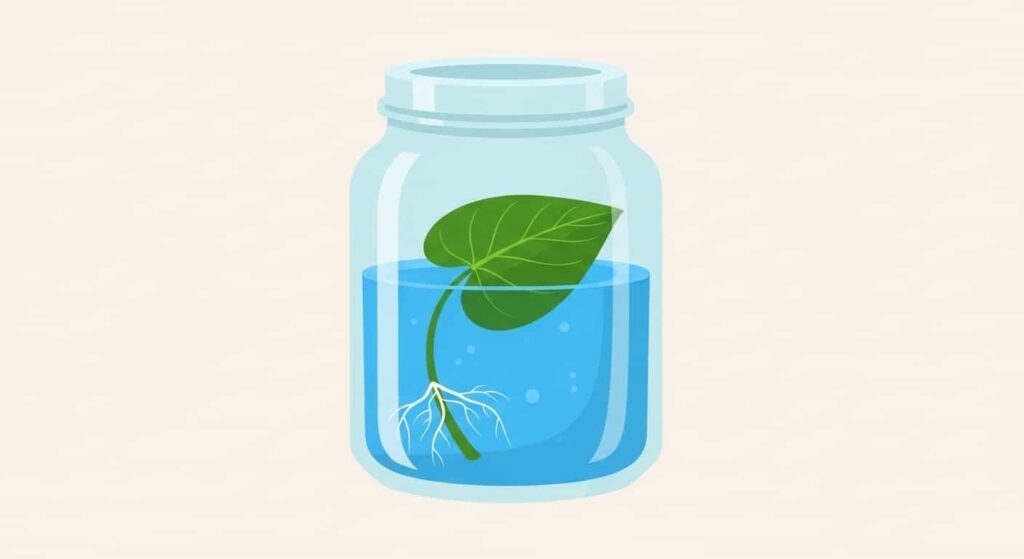
Water propagation is the most beginner-friendly method because you can actually watch roots forming — no guessing involved.
Step-by-Step Instructions
- Step 1: Take the cutting. Using clean, sharp scissors, snip a healthy leaf with at least 1–1.5 inches (2.5–4 cm) of petiole (the stem connecting the leaf to the main plant). A petiole is crucial for water propagation — a leaf without one rarely succeeds in water.
- Step 2: Let it callous. Set the cutting on a dry paper towel for 1–2 hours. This allows the cut end to seal slightly, reducing the risk of rot in water.
- Step 3: Place in water. Fill a small, clean glass or propagation station with room-temperature water. Submerge only the petiole — the leaf itself should sit above the waterline. Use filtered or rainwater if your tap water is heavily chlorinated. Let tap water sit uncovered overnight to off-gas chlorine before using.
🛒 Glass Propagation Station Set — View on Amazon These aesthetic propagation stations hold cuttings at the perfect depth, making water propagation nearly foolproof.
- Step 4: Place in bright indirect light. Set the glass near a north or east-facing window. Avoid direct sun — it heats the water, encourages algae, and can stress the cutting.
- Step 5: Change water every 5–7 days. Fresh, oxygenated water prevents bacteria and rot. Rinse the petiole gently each time.
- Step 6: Wait for roots. Roots typically appear within 3–6 weeks, sometimes sooner in warm conditions. Wait until roots are at least 1 inch (2.5 cm) long before transplanting.
- Step 7: Transplant to soil. Move the rooted cutting to a small pot filled with a well-draining propagation mix. Water lightly and keep in bright indirect light. Expect a brief adjustment period (1–2 weeks) as roots adapt from water to soil.
Method 2: Leaf Propagation in Soil/Propagation Mix
Soil propagation skips the water-to-soil transition and can produce stronger, more established roots. It’s slightly harder to monitor, but it’s the most natural method.
Step-by-Step Instructions
- Step 1: Prepare your mix. Fill a small pot or propagation tray with a 50/50 blend of perlite and coco coir (or perlite and peat moss). Moisten it until evenly damp but not wet — it should clump slightly when squeezed but not drip.
- Step 2: Take the cutting. Cut a leaf with 1–2 inches of petiole using sterile scissors. Again, let the cut end callous for 1–2 hours before planting.
- Step 3: Apply rooting hormone (optional but recommended). Dip the cut end of the petiole into rooting hormone powder or gel. Tap off any excess powder. This step can reduce rooting time by 30–50%.
🛒 Gel Rooting Hormone for Cuttings — View on Amazon Gel-based rooting hormone adheres better to cuttings than powder and provides consistent results. Highly recommended for beginners.
- Step 4: Plant the cutting. Use a pencil or chopstick to create a small hole in the propagation mix. Insert the petiole at a slight angle so the leaf leans away from the mix surface. Gently firm the mix around it — the petiole should be buried, with the leaf base sitting just above the soil.
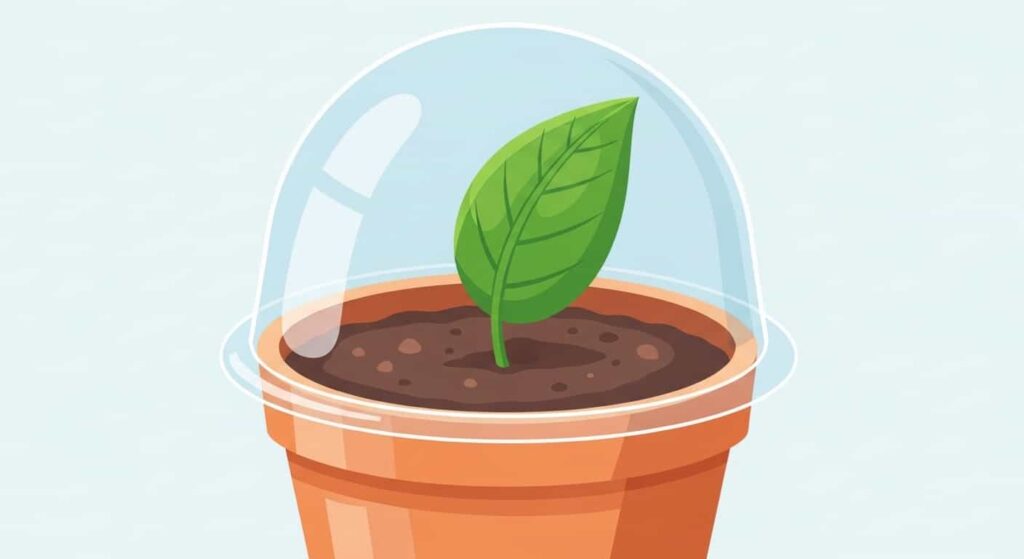
- Step 5: Cover with humidity dome. Place a clear plastic bag loosely over the pot, or use a humidity dome. This traps moisture and creates a mini-greenhouse environment that mimics tropical humidity.
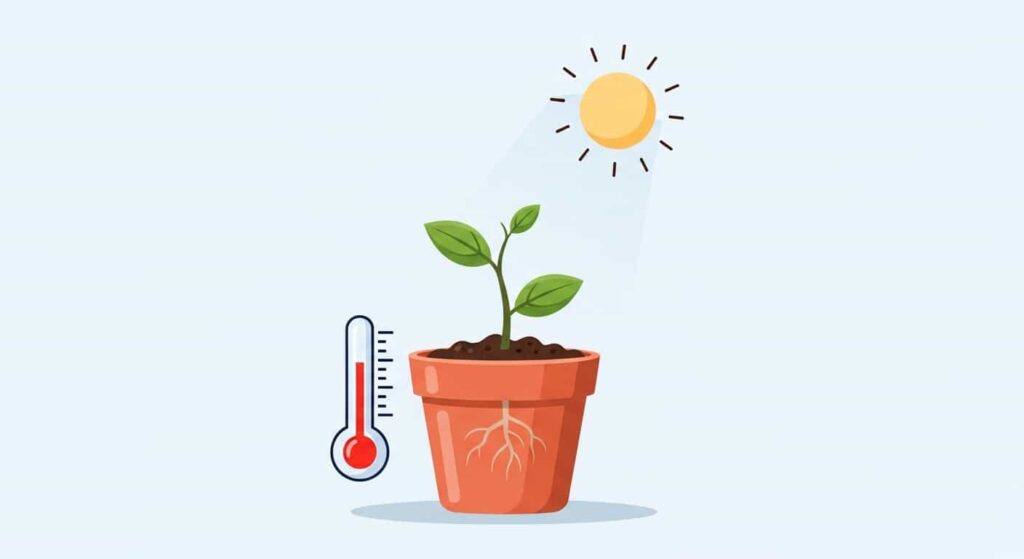
- Step 6: Provide warmth and light. Place in bright indirect light at temperatures above 70°F (21°C). A heat mat set to 75–80°F dramatically improves rooting speed.
🛒 Seedling Heat Mat for Propagation — View on Amazon Consistent bottom heat is one of the single biggest improvements you can make to your propagation setup. Speeds up rooting by weeks.
- Step 7: Mist and monitor. Check the mix every few days. Mist lightly if the surface starts to dry out. Avoid overwatering — soggy soil causes rot before roots can form.
- Step 8: Check for roots (4–8 weeks). Gently tug the leaf after 4–6 weeks. Resistance means roots have formed. Alternatively, look for new tiny plantlets emerging at the base of the petiole — the clearest sign of success.
Method 3: Leaf Section Propagation
This advanced method lets you get multiple plantlets from a single large leaf. It works best when you have very large, healthy leaves and want to maximize the number of new plants.
Step-by-Step Instructions
- Step 1: Take a healthy leaf. Remove a large, healthy leaf from the plant without the petiole — or with a very short petiole stub.
- Step 2: Cut the leaf into sections. Using a clean, sharp blade, cut the leaf into 2–4 horizontal sections. Each section should be at least 1.5 inches (4 cm) tall. Keep track of orientation — the bottom (base) of each section must be planted downward.
⚠️ Important: If a section is planted upside down, it will not produce roots or plantlets.
- Step 3: Let the sections callous. Allow all cut surfaces to dry and callous for 2–4 hours before planting.
- Step 4: Plant sections upright. Push the base (bottom) edge of each section about ½ inch into moist propagation mix, standing them vertically. Space sections at least 1 inch apart.
- Step 5: Follow the same humidity and light routine. Cover with a humidity dome and provide warmth. Rooting takes slightly longer with sections — expect 6–10 weeks before tiny plantlets emerge from the base of each section.
Caring for Your Cuttings During Propagation
The waiting period between taking a cutting and seeing a new plant is where most people make mistakes. Follow these care guidelines:
Light
Bright, indirect light is ideal. A north or east-facing windowsill works well. Avoid direct sunlight — it desiccates unrooted cuttings and heats water propagation vessels dangerously.
Temperature
Keep cuttings consistently warm: 70–80°F (21–27°C). Cold drafts or air conditioning vents dramatically slow rooting.
Humidity
Maintain 60–80% humidity around cuttings. A humidity dome is the easiest solution. Misting alone isn’t sufficient — it raises humidity briefly but doesn’t sustain it.
Watering
For soil propagation: keep the mix barely moist. The biggest killer of cuttings is overwatering before roots form. When there are no roots, the plant can’t absorb water — it just sits in moisture and rots.
Patience
This is the hardest part. Resist the urge to check constantly or tug on leaves. Set a reminder to check every 2 weeks instead.
Troubleshooting Common Problems
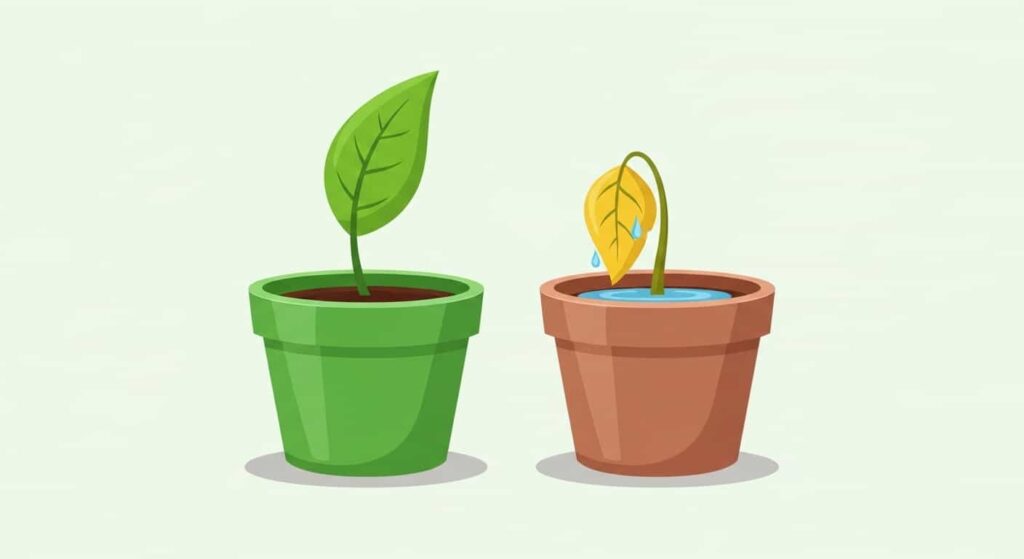
Leaves Turning Yellow or Mushy
Cause: Overwatering or rot. Fix: Remove the affected cutting, let it dry out, and replant in a fresh, drier mix. Ensure your propagation vessel has drainage holes.
No Roots After 8+ Weeks
Cause: Too cold, too little light, or the leaf was damaged. Fix: Move to a warmer location, add a heat mat, and check the leaf for signs of rot. Start fresh with new cuttings if necessary.
Leaves Wilting and Shriveling
Cause: Too little humidity or heat stress. Fix: Add a humidity dome. Move away from heating vents or direct sun.
Algae Growing in Water Propagation
Cause: Water exposed to direct light. Fix: Use an opaque vessel or move out of direct light. Change water more frequently (every 3–4 days).
Mold on Soil Surface
Cause: Excess moisture with poor airflow. Fix: Remove the mold gently, reduce misting, and add a thin layer of perlite on the soil surface to improve airflow.
When and How to Transplant Rooted Cuttings
Once your cutting has:
- Roots at least 1 inch (2.5 cm) long (water propagation), or
- Visible tiny plantlets at the leaf base (soil propagation)
…it’s time to move it to its permanent home.
Transplanting Steps
- Choose a small pot — 2–3 inches in diameter. Peperomias prefer slightly snug roots.
- Use the right soil — A blend of high-quality potting mix with added perlite (1:1 ratio) works perfectly. Avoid heavy, moisture-retaining mixes.
🛒 Premium Succulent & Peperomia Potting Mix — View on Amazon Pre-mixed soils formulated for semi-succulents save you the effort of blending your own and are perfectly calibrated for Peperomia root health.
- Transplant gently — Disturb roots as little as possible. For water-propagated cuttings, bury roots completely and firm the soil lightly around the base.
- Water lightly — Just enough to settle the soil. Wait until the top inch dries before watering again.
- Ease into normal light — Keep in moderate indirect light for 1–2 weeks before moving to the plant’s final location.
How Long Does Peperomia Obtusifolia Leaf Propagation Take?
| Stage | Timeframe |
|---|---|
| Callous formation | 1–4 hours |
| First roots appear (water) | 3–5 weeks |
| First roots appear (soil) | 4–8 weeks |
| Visible new plantlets | 6–12 weeks |
| Ready to transplant | 8–14 weeks |
| Established, growing plant | 4–6 months |
Factors that speed it up:
- Heat mat at 75–80°F
- High humidity (60–80%)
- Rooting hormone
- Spring/early summer timing
- Healthy, well-hydrated parent plant
Tips to Maximize Your Propagation Success Rate
- Take more cuttings than you need. A batch of 5–6 gives you a buffer — not every cutting will succeed.
- Use clean tools every time. Bacteria and fungal spores on dirty scissors cause rot before roots form.
- Label your cuttings if propagating multiple varieties.
- Don’t rush transplanting. Weak roots snap easily. Wait until roots are robust.
- Feed the parent plant. A well-fertilized parent produces leaves with more stored energy — better propagation material.
🛒 Liquid Balanced Houseplant Fertilizer — View on Amazon A balanced liquid fertilizer applied monthly during the growing season ensures your parent plant produces the strongest, healthiest leaves for propagation.
Frequently Asked Questions
Can Peperomia obtusifolia be propagated without a petiole?
Yes, but it’s harder. Leaf sections without a petiole can root, but success rates are lower. For beginners, always try to include at least 1 inch of petiole.
How many new plants can I get from one leaf?
Typically, 1–3 small plantlets emerge from the base of a single leaf or petiole. With leaf section propagation, you can potentially get a plantlet from each section.
Is it better to propagate in water or soil?
Both work well. Water propagation lets you monitor progress visually. Soil propagation creates stronger roots that don’t need to adapt. Try both and see which you prefer.
Why did my propagated leaf die, but no plant grew?
The leaf served its purpose — providing energy to fuel root and plantlet development. Once plantlets have their own roots and leaves, they no longer need the original propagation leaf. This is normal.
Can I propagate Peperomia obtusifolia variegata the same way?
Yes. The variegated variety (Peperomia obtusifolia ‘Variegata’) propagates via the same leaf methods. Note that variegated forms may root slightly more slowly due to lower chlorophyll content.
Final Thoughts
Peperomia obtusifolia leaf propagation is one of the most satisfying gardening projects a houseplant lover can take on. With a single healthy leaf, the right setup, and a little patience, you can grow an entirely new plant for free.
The key takeaways:
- Use healthy, mature leaves with a good petiole
- Choose the water or soil method based on your preference
- Maintain warmth and humidity throughout the rooting period
- Be patient — results come in weeks, not days
Whether you’re building a collection, gifting plants to friends, or just satisfying your curiosity, this is a skill that will serve you for years of plant parenthood.
Disclosure: This article contains affiliate links. If you purchase through these links, we may earn a small commission at no extra cost to you. We only recommend products we genuinely find useful.