Peperomia Fertilizer Burn: Avoid These 5 Myths
Peperomia fertilizer burn (UK: fertiliser burn; this URL keeps the US spelling for search) is osmotic injury from excess dissolved salt, not a cue to feed harder. Peperomia obtusifolia is a light-feeding semi-succulent with fine roots; label-strength doses written for fast annuals routinely reverse the root osmotic gradient (fertilizer burn; plasmolysis; osmosis).
The short answer: crispy, sharp-bordered brown tips/margins + white/tan salt crust + often moist mix = burn. Flush 3–5× pot volume of low-mineral water for about 5 minutes, drain fully, trim heavily necrotic leaves, withhold fertiliser ≥6 weeks. Do not add more feed to “help recovery.” Feeding schedule belongs in the fertiliser guide; deep leach choreography in the salt-leaching protocol.
1. Peperomia Fertilizer Burn vs Lookalikes
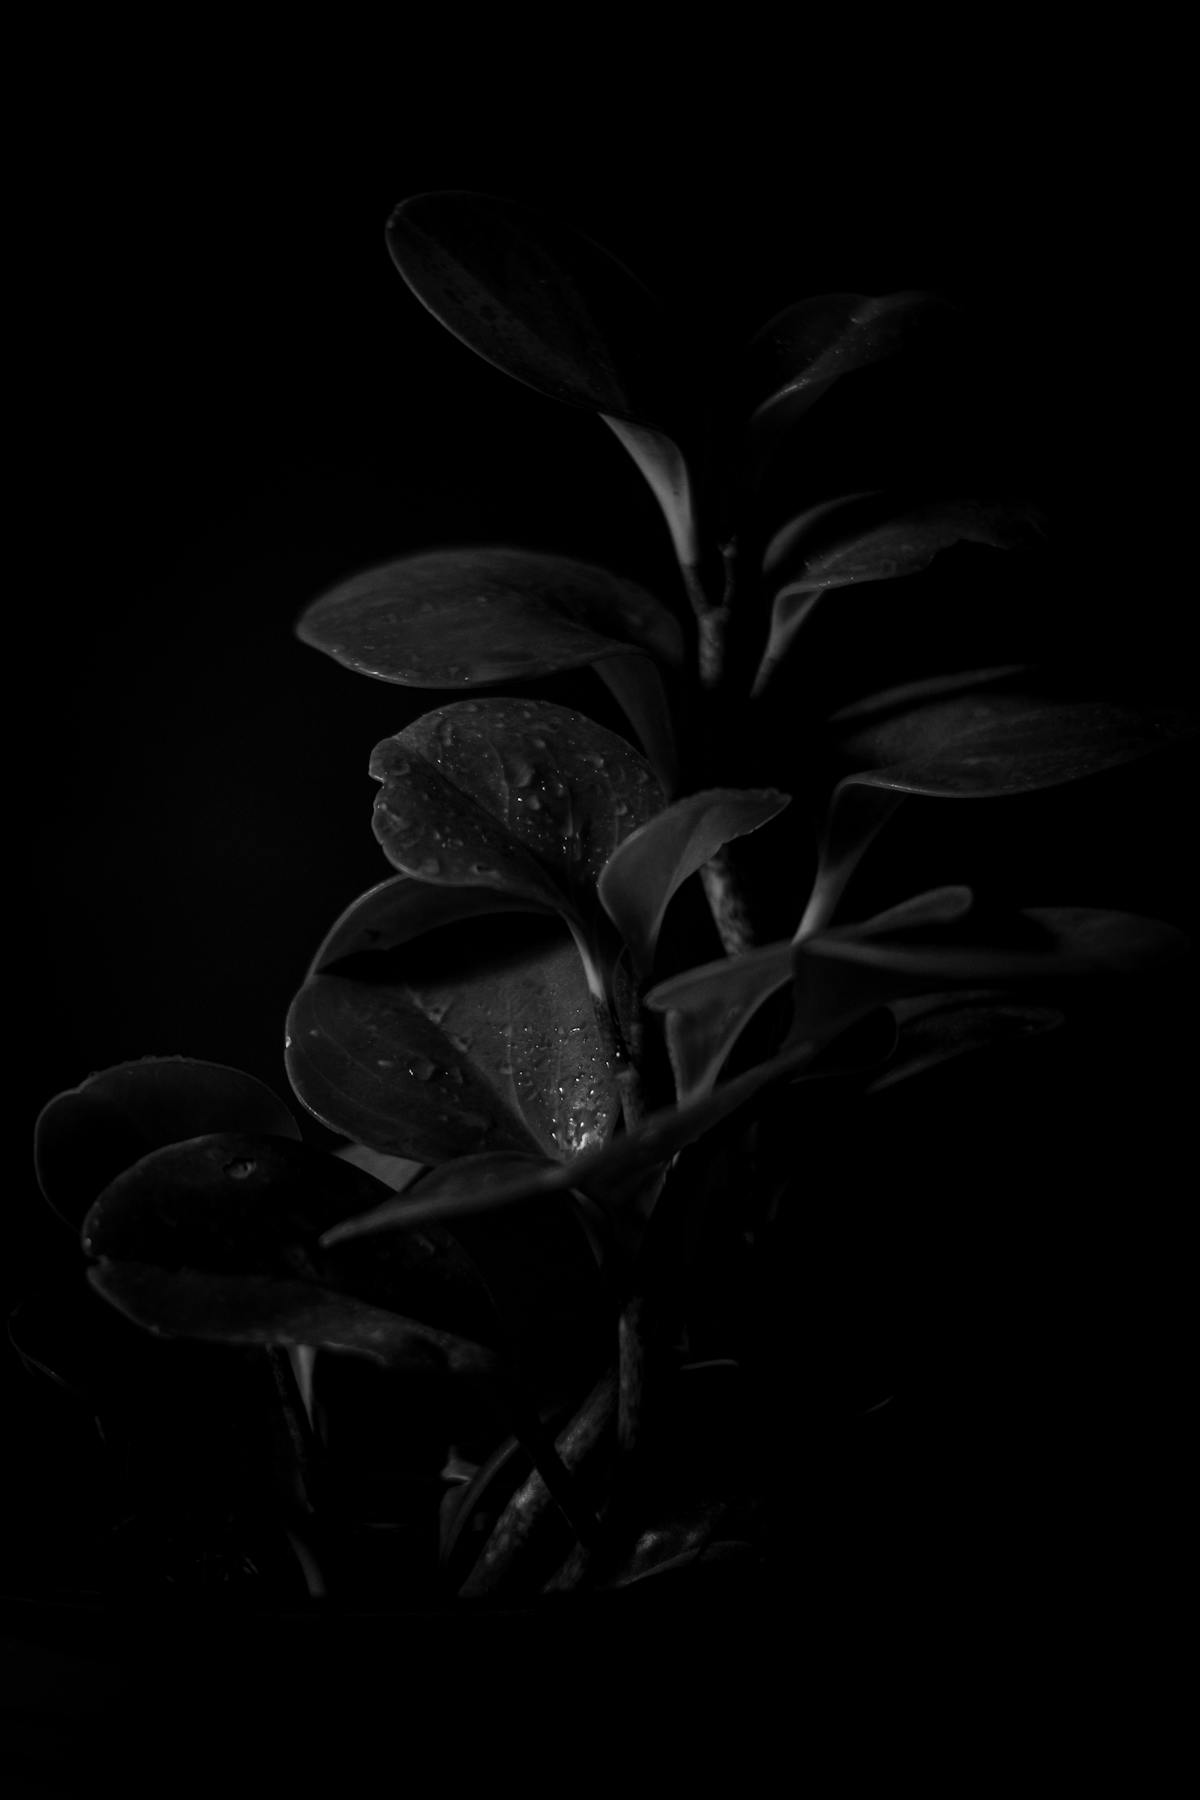
| Feature | Fertilizer burn | Underwatering | Humidity tip crisp | Bacterial spot |
|---|---|---|---|---|
| Margin | Crispy, sharp border, yellow halo | Soft wrinkle, whole-leaf curl | Gradual crumbly tips | Soft → necrotic, spreads |
| Substrate | Often moist | Bone-dry | Variable | Variable |
| Salt crust | Yes | No | No | No |
| Onset | Days after over-feed / salt peak | Weeks of dry | Slow, winter air | Days, progressive |
Crust chemistry and mould lookalikes: white crust / salt buildup. Broader brown-leaf map: brown leaves.
2. Five Myths That Cause Peperomia Fertilizer Burn
Myth 1 — “Crispy tips mean drought; water more.” Wet hypertonic mix dehydrates roots chemically. Extra plain water without leaching leaves the salt load in place.
Myth 2 — “If it looks pale, double the dose.” This species is a light feeder (NC State; Missouri Plant Finder). More NPK on stressed roots worsens burn. Pale leaves without a salt crust are more often a broader problems-guide case than a feeding gap.
Myth 3 — “Winter feed keeps it strong.” Slow uptake + unused salt = accumulation. Stop fertiliser in the cool, low-light months (winter care).
Myth 4 — “Bottom-watering alone is enough forever.” Capillary rise parks fertiliser and tap minerals at the surface. Periodic top-flush is required; exclusive bottom-watering is a classic salt path (Pattern 6).
Myth 5 — “Slow-release beads are safer.” Over-applied prills re-release on every wet cycle and often defeat a single flush — they need physical removal and fresh mix.
Opinion: Never fertilise a stressed or freshly flushed Peperomia “to help it bounce back.” Salt on regenerating root hairs recreates plasmolysis. Wait for clean new growth first.
3. Mechanism: Reverse Osmosis at the Root
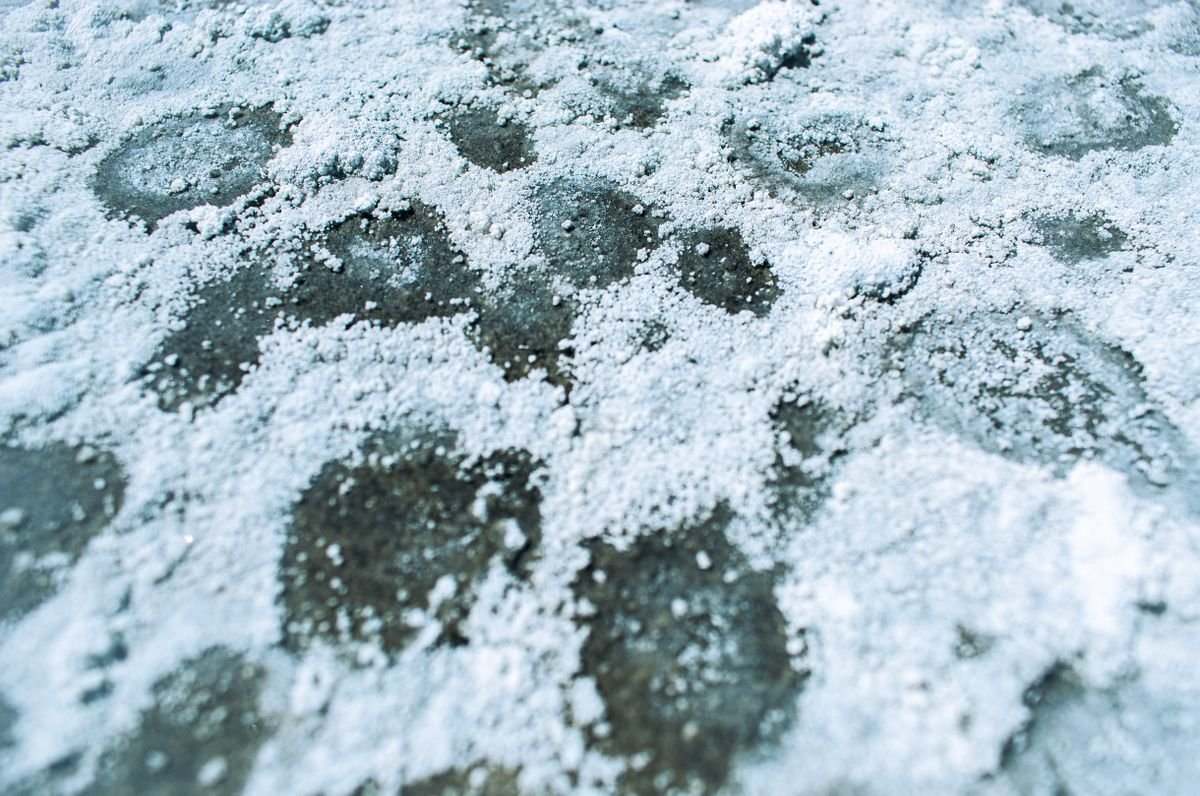
At correct dilution, substrate solution is more dilute than root-cell sap, so water moves inward. Over-application (or months of unflushed residue) makes the mix hypertonic. Water moves out; protoplasts shrink (plasmolysis); root hairs die first. Leaf tips and margins — farthest from supply — necrose while the pot still feels heavy.
Severity tracks how long roots sit in that chemistry:
- Early: tip/margin crisp on a few older leaves; crust just visible; plant still firm.
- Advanced: widespread yellowing, limp canopy in moist mix, dark or shrivelled root tips.
- Severe: mass leaf drop or soft crown after salt plus secondary rot — flush may not be enough; triage roots and consider cuttings if the stem is sound.
Tap-water minerals can reach the same injury without a recent “big feed.” Diagnose by crust + tip burn; treat by leaching either way. The “add water because tips are dry” reflex is wrong here — without leaching, you only rewet a salt reservoir.
4. Emergency Soil Flush for Peperomia Fertilizer Burn
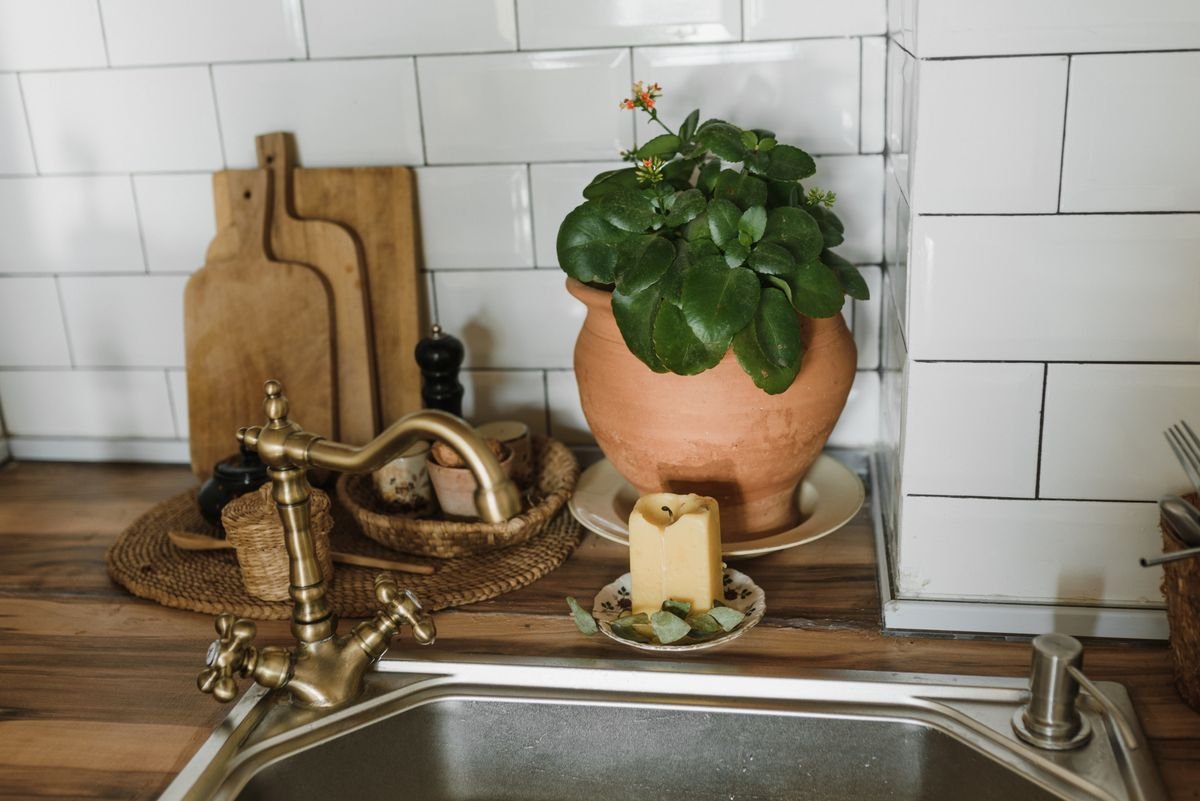
Stop all fertiliser the moment burn is confirmed. Optionally scrape the top 1–2 cm of crusted mix into the bin before flushing — that layer is the highest salt concentration and is easiest to remove mechanically.
- Remove the saucer; work over a sink or bath.
- Prefer distilled, RO, rain, or filtered water; lukewarm (~20 °C) gentle flow — not a jet that channels through dry cracks. Pre-moisten if the mix is bone-dry so water contacts salt, not only voids.
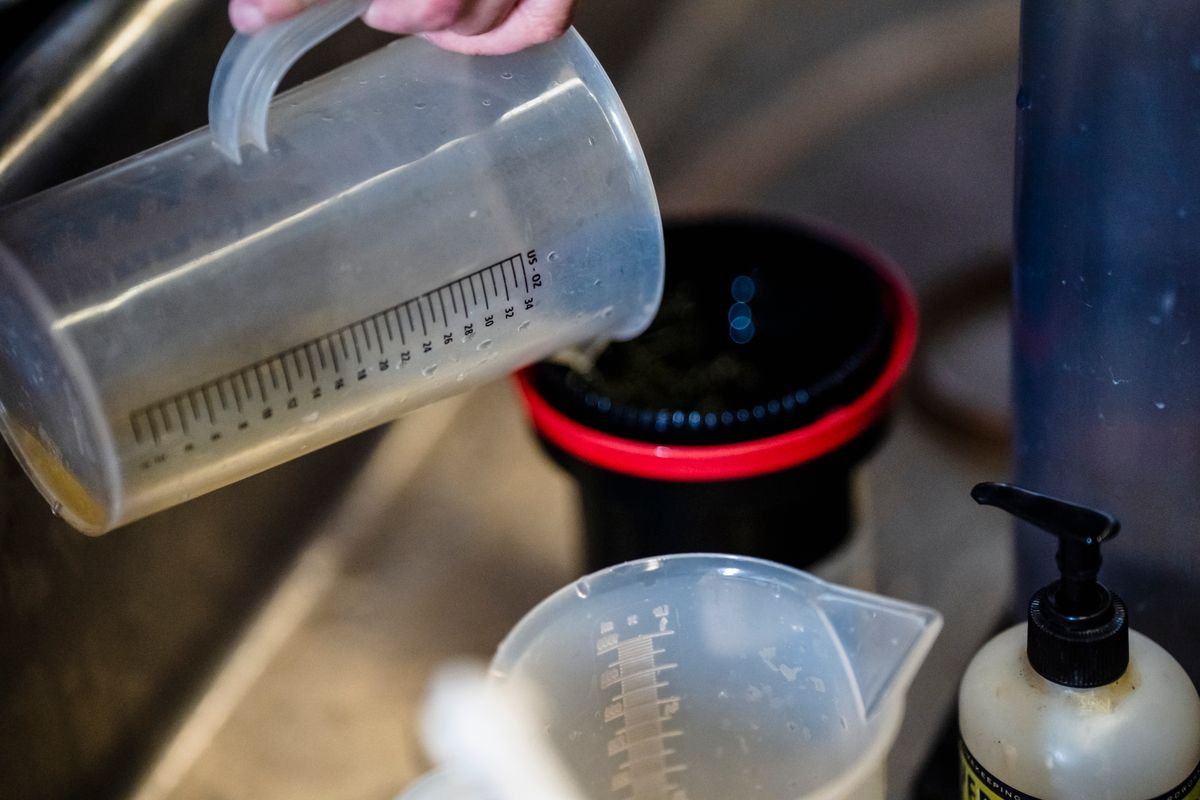
- Run roughly 3–5× pot volume (~5 minutes). One thorough pass is the baseline; if crust and tip burn were severe, a second gentle leach 24–48 hours later (after partial dry-down) clears residual pockets without keeping the root zone saturated for days.
- Drain completely; no standing runoff. Place at 2,000–4,000 lux.
- Wait until the top 2–3 cm dry before the next water — a flushed pot is saturated; immediate re-soak risks anoxia (~5-day wet risk).
Trim leaves >50% necrotic with tools wiped in 70% isopropyl. No fertiliser for ≥6 weeks. Step-by-step volume and pre-hydration detail: leaching salt.
5. When Flushing Fails: Repot
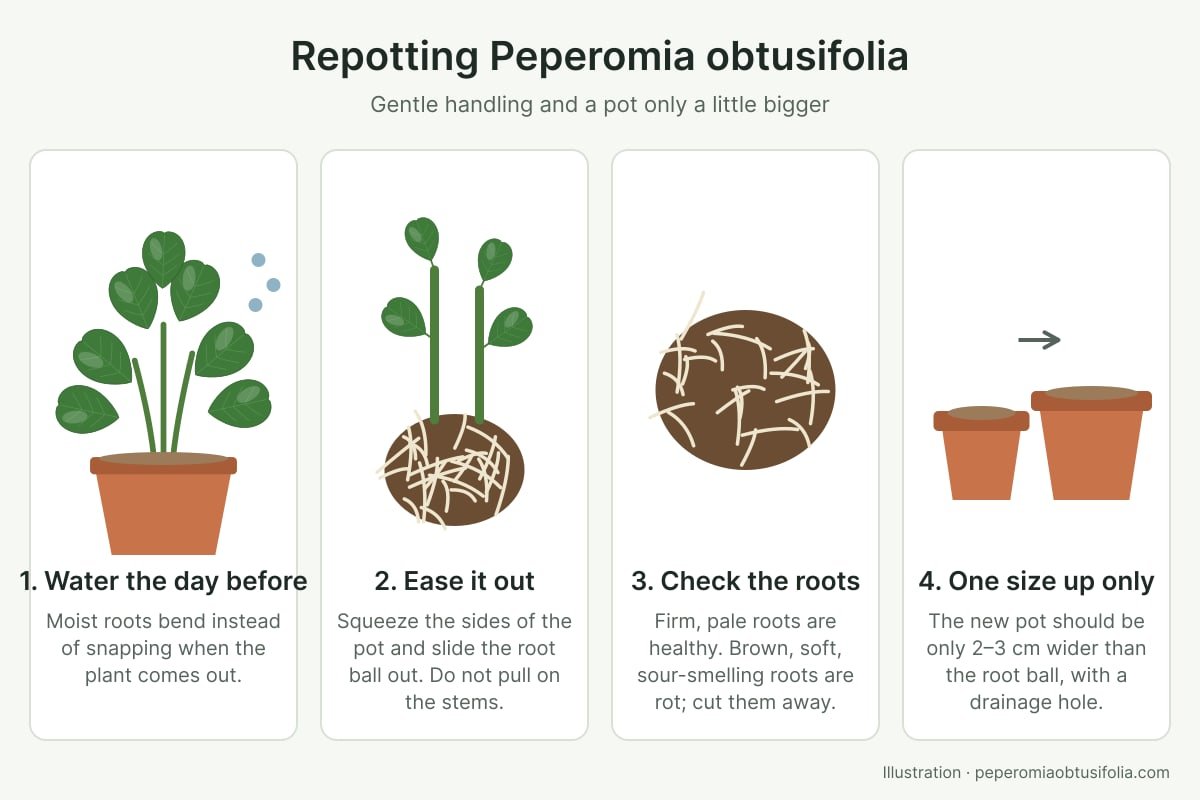
Repot when slow-release granules remain in the mix or undiluted concentrate was poured in. Rinse old medium off, cut black/shrivelled roots, pot into fresh unfertilised open mix (≥30% aeration — soil recipe). Hold light water 5–7 days for cut surfaces, then resume dry-down watering — still no feed until new growth.
6. Recovery Timeline and Prevention
| Window | What to expect |
|---|---|
| Days 0–3 | No greening of old burns |
| Weeks 1–3 | Root-hair rebuild; little top growth |
| Weeks 3–6 | First clean new leaves = success metric |
| Week 6+ | Resume 50% label 20-20-20, monthly, spring–summer only |
Do not mistake the recovery pause for underfeeding. The canopy will look scarred while underground tissues rebuild; another dose during weeks 1–4 is the most common way a flush fails. Severe cases sometimes present alongside sudden leaf drop as the plant sheds the most salt-damaged leaves outright, or downward curling and wrinkled, soft leaves as the plant loses turgor from the same root-hair damage — check those guides if the picture is not a clean tip-burn-plus-crust presentation.
Prevention thresholds
- Dilute to 50% of label; monthly in spring–summer only; balanced 20-20-20 (or 10-10-10 at equivalent strength).
- Keep roughly 20% of each watering as drainage leachate so residual ions leave the pot.
- Never apply fertiliser to bone-dry mix — water lightly first, then feed into a hydrated root zone.
- Stop entirely in autumn–winter when uptake slows (winter care).
- If you bottom-water by habit, top-flush periodically so salts do not park at the surface.
Full NPK rationale and product-type trade-offs: fertiliser guide. Watering rhythm that supports dry-down without weeks of desiccation: watering guide.
Conclusion
Peperomia fertilizer burn is chemistry, not hunger. Salt reverses the root osmotic gradient; crispy margins and a white crust are the tell; the fix is mechanical leaching (or fresh mix when prills remain), then a long fertiliser pause. Measure recovery by new leaves, feed light only in active growth, and keep a leaching fraction so the next dose never becomes another burn event.
Care FAQ
What does fertiliser burn look like on a Peperomia?
Peperomia fertilizer burn shows as a sharp, crispy brown band at leaf tips and margins, often with a thin yellow halo between dead and living tissue. Confirm with a hard white or tan crust on the mix surface or pot rim, and limp leaves while the substrate is still moist. Soft whole-leaf wrinkle in a bone-dry pot is underwatering, not burn.
Can a Peperomia recover from fertiliser burn?
Yes, if roots are not fully collapsed. Leach with 3–5 pot-volumes of low-mineral water, trim leaves that are more than about half necrotic, and withhold all fertiliser for at least 6 weeks. Brown margins stay brown; recovery is scar-free new growth after root hairs regenerate.
Why does fertiliser burn happen?
It is osmotic injury. When dissolved salt in the substrate exceeds the concentration inside root cells, water moves out of the roots (plasmolysis). The plant dehydrates from the tips inward even though the pot feels wet. Over-strength feed, winter feeding, exclusive bottom-watering without top-flush, and slow-release over-application all raise that salt load.
How do I tell fertiliser burn from underwatering?
Check moisture and look for crust. Underwatering: soft, wrinkled leaves in a light, dry pot, no mineral crust. Fertilizer burn: crispy sharp-bordered margins, often moist mix, plus white or tan crust on soil or terracotta rim. The crust is the decisive discriminator.
Should I fertilise a stressed Peperomia to help it recover?
No. Extra salt on damaged root hairs accelerates plasmolysis. Resume only after healthy new growth, at balanced NPK 20-20-20 diluted to 50% of label rate, monthly in spring–summer only.
How often should I fertilise Peperomia obtusifolia to avoid burn?
Monthly in spring and summer at 50% label rate with balanced 20-20-20 (or equivalent). Stop in autumn and winter. Keep roughly 20% of each watering as drainage leachate, and never feed a bone-dry pot. Full schedule detail lives in the fertiliser guide.