
Spider Mites on Peperomia: Stop Them in 3 Steps
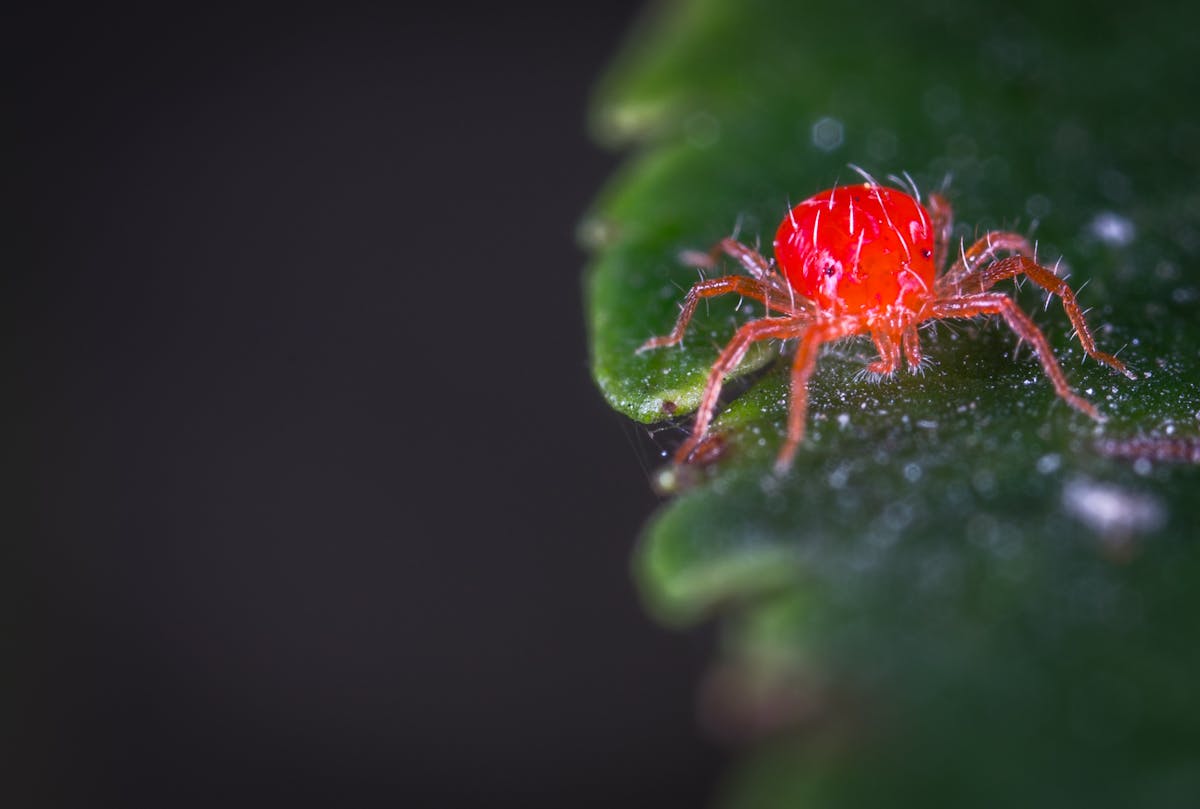
Spider mites on Peperomia obtusifolia are arachnids, not insects, and they leave permanent pinpoint stippling plus fine silk webbing once established. The first containment step is isolating the plant away from heating or air-conditioning vents, since these mites specifically favour warm, dry air in a way most other houseplant pests don't — confirm the identification with a tap test before treating, since the damage pattern is easy to confuse with other pests.
Identification Checklist
- Stippling: pinpoint white, yellow, or grey dots on the upper leaf surface, where feeding has drained chlorophyll-bearing cells — the tissue feels dry and rough rather than soft, with no fungal halo.
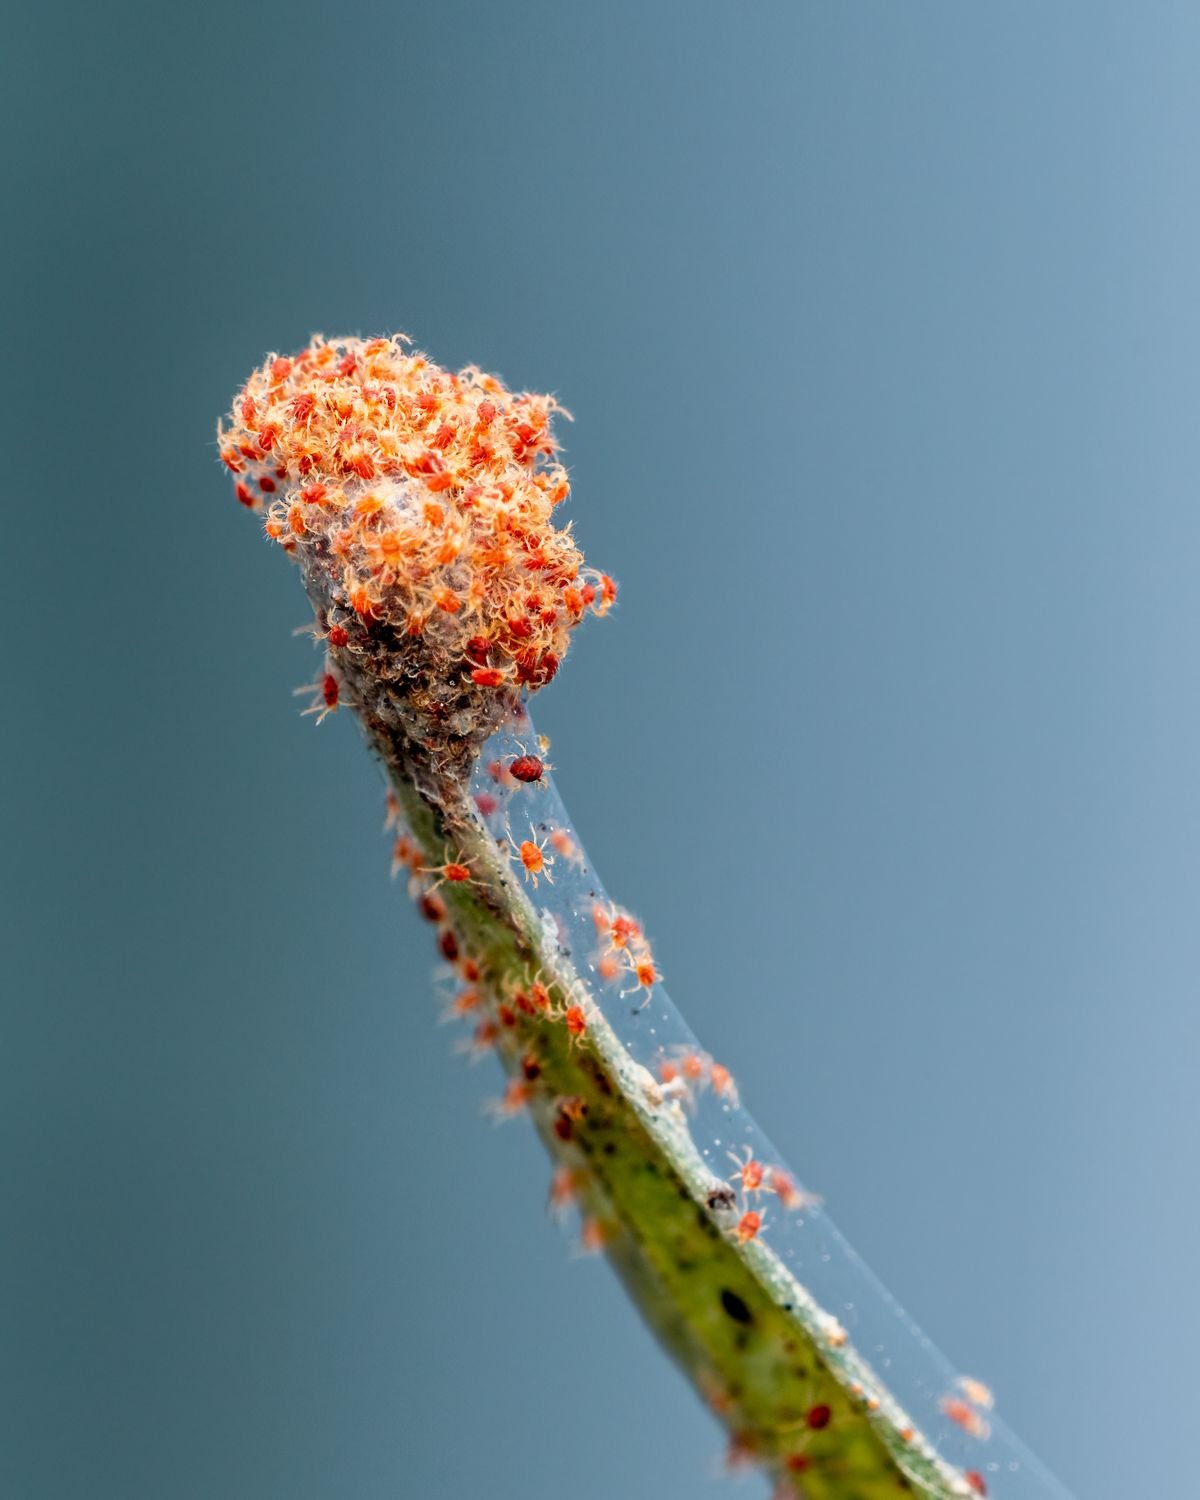
- Webbing: thread-fine silk in leaf axils and between leaves; visible webbing usually means a well-established colony with eggs sheltering inside the silk.
- Tap test: hold white paper beneath a suspect leaf and tap it firmly — moving, dust-sized specks falling onto the paper confirm mites, best checked with a hand lens if available.
- Advanced damage: a bronze or grey overall leaf tone indicates heavy, cumulative cell loss from a long-established colony.
Silvery patches with black frass and larger, fast-moving slivers point to thrips rather than spider mites — see the thrips guide if that pattern matches instead.
Lookalikes to Rule Out First
| Sign | Spider mites | Lookalike |
|---|---|---|
| Body type | 8-legged arachnid, 0.5 mm, no wax coat | Mealybugs: cottony white wax masses |
| Damage pattern | Fine, dry pinpoint stippling | Thrips: larger silvery patches with black frass |
| Residue | Fine silk webbing in axils | Aphids: sticky honeydew, no webbing |
| Environmental trigger | Favoured by dry air, RH below ~40% | Powdery mildew: dry white coat, unrelated to humidity level |
Isolate and Clean the Plant
Move the affected plant away from the rest of the collection and away from heating or air-conditioning vents specifically, since the localised dry airflow near a vent is often what let the colony establish in the first place. Rinse leaf undersides and axils with a firm, lukewarm water stream to physically strip off mites, eggs, and silk, supporting thick obtusifolia leaves by hand so the water jet doesn't snap a petiole.
Treatment Ladder
Step 1 — Mechanical removal first. The water blast above is the first and least disruptive step, removing the bulk of the visible population and destroying exposed silk and eggs before any product is applied.
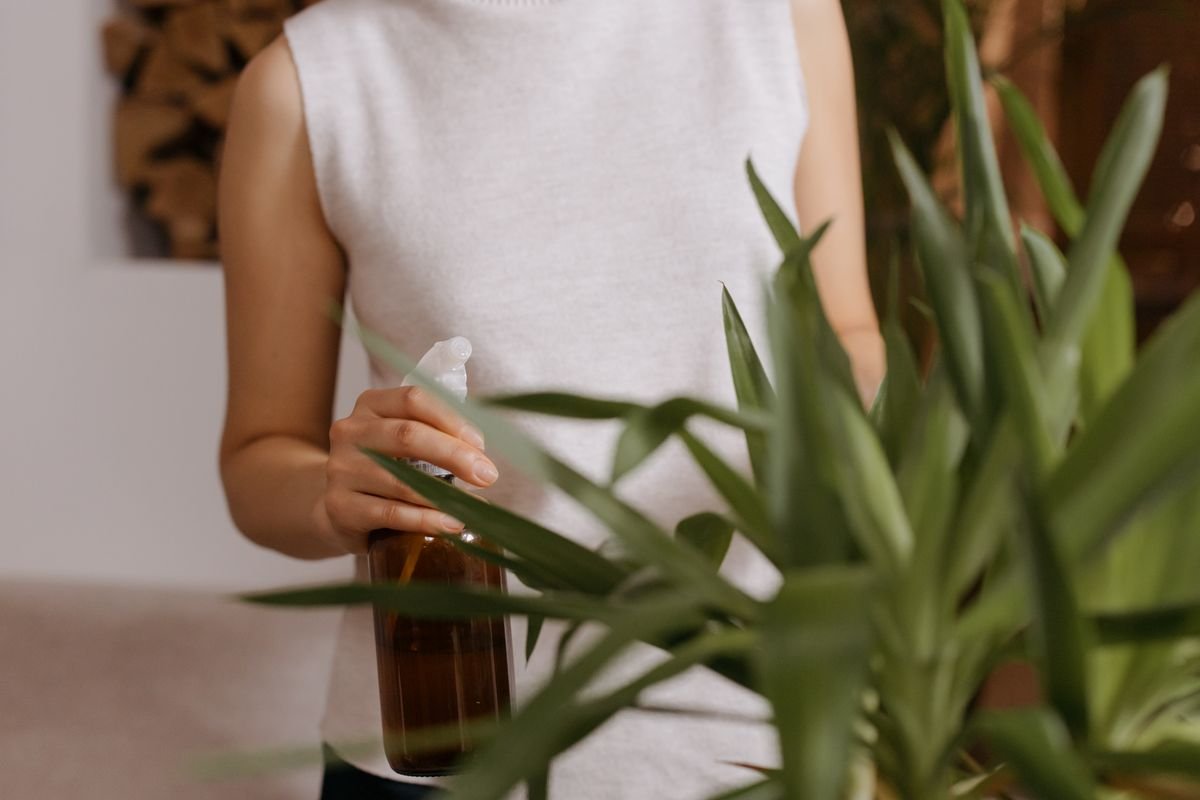
Step 2 — Contact kill. Within a couple of hours of the water blast, cover all leaf surfaces with a labelled insecticidal soap, patch-testing one leaf first. Some eggs commonly survive a single pass, so repeat applications should be expected rather than treated as a failure. Keep treated foliage out of harsh direct sun until it dries, to limit the risk of leaf burn.
Step 3 — Growth disruption and humidity correction. A labelled neem or azadirachtin product applied after the soap adds moulting disruption for surviving juveniles. Alongside this, raise ambient humidity from an arid level (below roughly 40% RH) into the 50-60% band with a room humidifier — this species' general optimum is 40-60% RH, and mites specifically struggle to reproduce as quickly once the air is out of the dry range that favours them. A pebble tray adds only a modest few percent locally and is not a substitute for correcting the room.
| Week | Action |
|---|---|
| 1-4 | Water blast plus soap, with optional neem, every 5-7 days |
| Ongoing | Confirm negative tap tests and no new stippling on new leaves |
| After clear | Prune the worst-stippled old leaves; keep humidity out of the arid range going forward |
If soap treatment alone stalls after two full cycles, escalate to a labelled acaricide and rotate the active ingredient used rather than repeating the same product or stacking multiple untested household sprays together.
When to Discard, Prune, or Repot
Prune heavily stippled leaves only once the active colony is confirmed suppressed — pruning mid-outbreak can physically scatter mites onto nearby foliage or plants. Repotting has no role in treating spider mites specifically, since this is a foliar pest driven by air humidity, not a substrate issue. Consider discarding a specimen only when most of the foliage is already webbed and bronzed, since at that point the plant has lost most of its functional leaf area and further spraying cycles are unlikely to be worth the effort compared with starting fresh from a healthy cutting.
Prevention and Monitoring
Quarantine new plants for roughly two weeks and inspect them with a tap test during that period, since mites frequently arrive unnoticed on new stock. Keep pots away from hot, dry airflow — heating vents, air-conditioning units, and radiators all create the localised dry microclimate mites favour. Run weekly tap tests during the winter heating season specifically, since indoor air typically runs driest then and mite generations compress fastest under warm, arid conditions — a generation can complete in as little as 5-7 days under warm, dry conditions, which is also why the treatment cycle above needs to repeat on roughly that same schedule rather than a single one-off spray. Wipe dusty leaf undersides periodically, since accumulated dust can mask early stippling and delay detection. Group plants that share a humidity-sensitive care profile away from the driest corner of a room, since a shared humidifier or pebble tray arrangement benefits every plant in that group rather than just the one already showing symptoms.
Safety Notes
Always follow the product label for any insecticidal soap, oil, or acaricide, including pet re-entry timing after treatment. Wear gloves when mixing concentrated product and avoid skin or eye contact. Never combine an acaricide with another pesticide unless the label explicitly permits it, since unlabelled mixes can cause unpredictable leaf damage. For the full diagnostic reference across all symptom types, see the complete problems guide, and for pests that sometimes co-occur in the same crowded, still conditions, see the guides for mealybugs, powdery mildew, and aphids.
Sources
Identification and treatment guidance are consistent with RHS glasshouse red spider mite guidance, Clemson HGIC IPM for spider mites, and NC State Extension on the two-spotted spider mite.
Care FAQ
How do I know if my Peperomia has spider mites?
Look for fine white, yellow, or grey stippling on the upper leaf surface, fine silk webbing in leaf axils or between leaves, and a positive tap test: tap a leaf firmly over white paper and check for moving, dust-sized specks. Visible webbing usually means the colony is already well established.
Why are spider mites worse in dry indoor air?
Two-spotted spider mites thrive in warm, arid conditions, and outbreaks are more likely once relative humidity stays below roughly 40%. Raising humidity toward the 50-60% band slows their generation time, while a dry, heated or air-conditioned room accelerates it.
Is the stippling damage on my Peperomia permanent?
Yes. The drained cells that produce stippling do not re-green once fed on. Judge treatment success by the absence of new stippling on new leaves and repeated negative tap tests, then prune the worst-affected old leaves only once the colony is confirmed gone.
Can I use the same treatment for spider mites as for mealybugs?
Only partly. Insecticidal soap helps against both, but alcohol swabs target mealybug wax specifically and are not a primary spider-mite tool. Pyrethroid sprays often underperform against mites and can kill the predatory mites that would otherwise help keep populations down, sometimes worsening a rebound.