How to Propagate Peperomia Obtusifolia: All 4 Methods Compared
The speed difference between propagation methods is not arbitrary — it is determined by the presence or absence of meristematic tissue: the clusters of undifferentiated, actively dividing cells from which all new plant structures emerge. A stem tip cutting retains the apical meristem and axillary meristems at each node — the biological machinery for producing roots, leaves, and new stems is already present and operational. A leaf cutting carries none of this. It must first trigger callus formation, dedifferentiate existing cells back toward a meristematic state, and only then begin constructing a new shoot from scratch. This single biological fact explains why stem tip cuttings root in three to four weeks while leaf cuttings take eight to twelve.
Understanding which method suits your situation — and why the apparent shortcuts often produce slower or weaker results — determines propagation success before you make the first cut.
The direct answer: Peperomia obtusifolia propagates reliably by four methods: stem tip cuttings in substrate (3–4 weeks to roots, ~90% success rate), water propagation followed by substrate transfer (2–3 weeks to water roots, then a further 3–4 week re-rooting period after transfer), leaf cuttings with petiole (6–8 weeks to roots, ~60% success rate), and division (immediate — no rooting period required). Stem tip cuttings in substrate are the recommended method for most situations. Propagate in spring at 22–25°C under 70–80% relative humidity.
For full care context, see the Peperomia Obtusifolia Care Guide.
Methods at a Glance
| Method | Roots in | First Shoot | Success Rate | Best For |
|---|---|---|---|---|
| Stem tip cutting (substrate) | 3–4 weeks | 4–6 weeks | ~90% | Most situations; strongest roots |
| Water propagation | 2–3 weeks (water-adapted) | After substrate transfer | ~75% | Visual observation of root development |
| Leaf cutting with petiole | 6–8 weeks | 8–12 weeks | ~60% | Maximising plants from limited material |
| Division | Immediate | Already present | ~95% | Multi-stemmed plants at repotting time |
Conditions: 22–25°C, 70–80% RH, 2,000–2,500 lux, 50% perlite + 50% fine bark substrate
Method 1: Stem Tip Cuttings in Substrate
Why this works: The stem tip carries both the apical meristem and the node axillary meristems — the points from which adventitious roots will emerge. When placed in a well-aerated substrate, the cut node responds to the absence of root-derived cytokinin signals by activating root initiation genes. The process is rapid because no cellular reprogramming is required: root-producing cells are already present and differentiated.
What you need:
- Sharp scissors or a blade sterilised in 70% isopropyl alcohol
- Propagation substrate: 50% perlite + 50% fine bark (not standard potting compost — it retains too much moisture and increases rotting risk)
- A small pot (8–10 cm diameter) with drainage holes
- A clear plastic bag or humidity dome
The procedure:
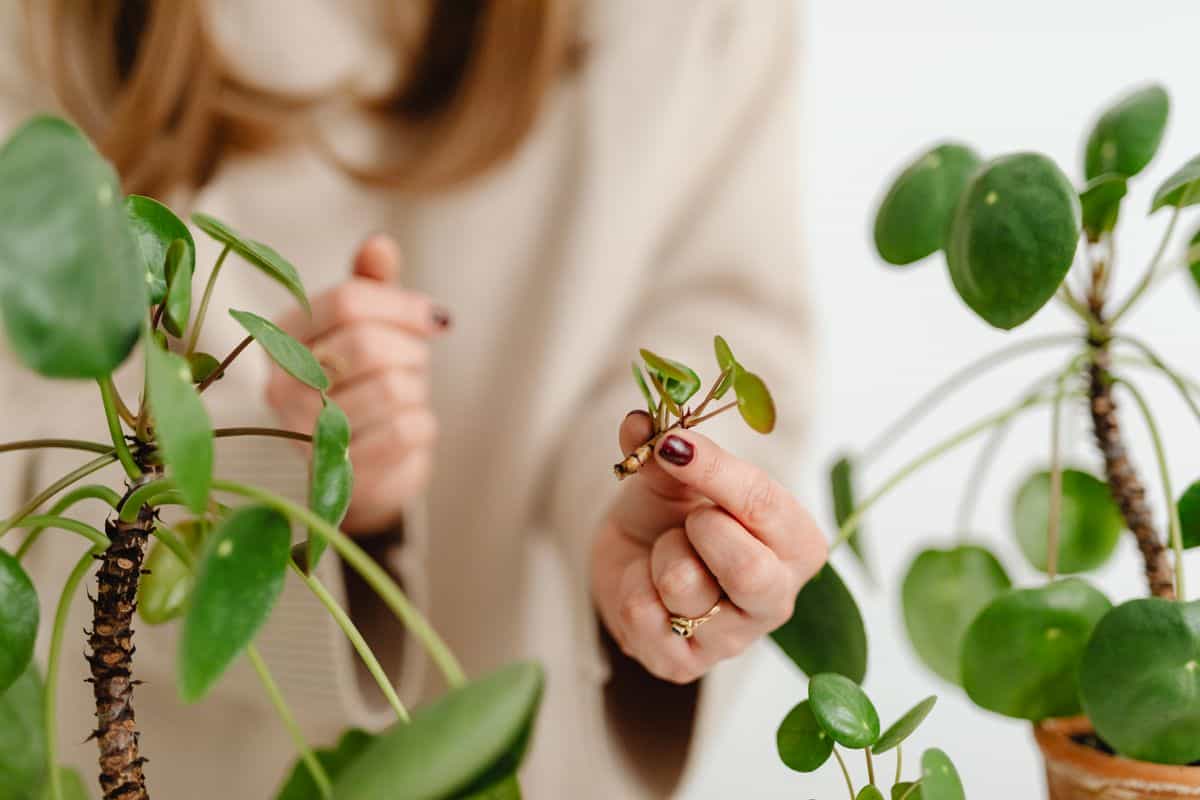
- Select a healthy stem with at least two nodes and two to three leaves. Cut just below the lowest node, leaving 5–8 cm of stem.
- Remove all leaves from the lower 3–4 cm of stem, leaving two to three leaves at the apex.
- Allow the cut end to air-dry for one to two hours until a visible callus (dry, slightly hardened surface) forms over the wound. This prevents bacterial entry before root-protective tissue develops.
- Insert the bare stem section 3–4 cm into lightly moistened propagation substrate. The substrate should hold its shape when squeezed but release no water.
- Cover with a clear plastic bag or humidity dome to maintain 70–80% relative humidity around the cutting.
- Place in bright indirect light (2,000–2,500 lux) at 22–25°C. Avoid direct sun — the cutting has no roots to replace moisture lost through the leaves.
- Lift the cover briefly every two to three days to exchange air and prevent fungal buildup.
Expected timeline: Visible root resistance when the cutting is gently tugged at three to four weeks. First new leaf growth at four to six weeks. Transfer to standard growing substrate once the first new leaf has fully expanded.
Pruning and propagation: Every stem removed during routine pruning is a viable cutting. A stem with one node and one leaf is sufficient — stem length is less important than the presence of meristematic tissue at the node.
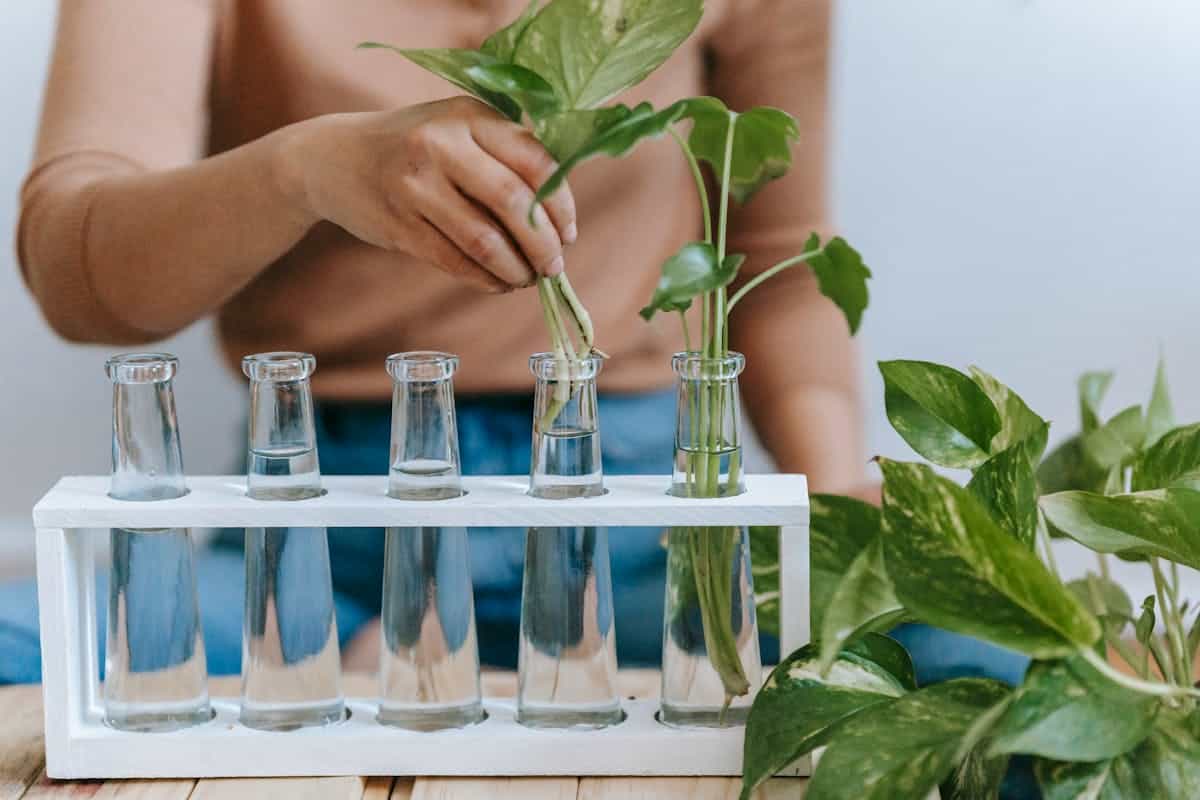
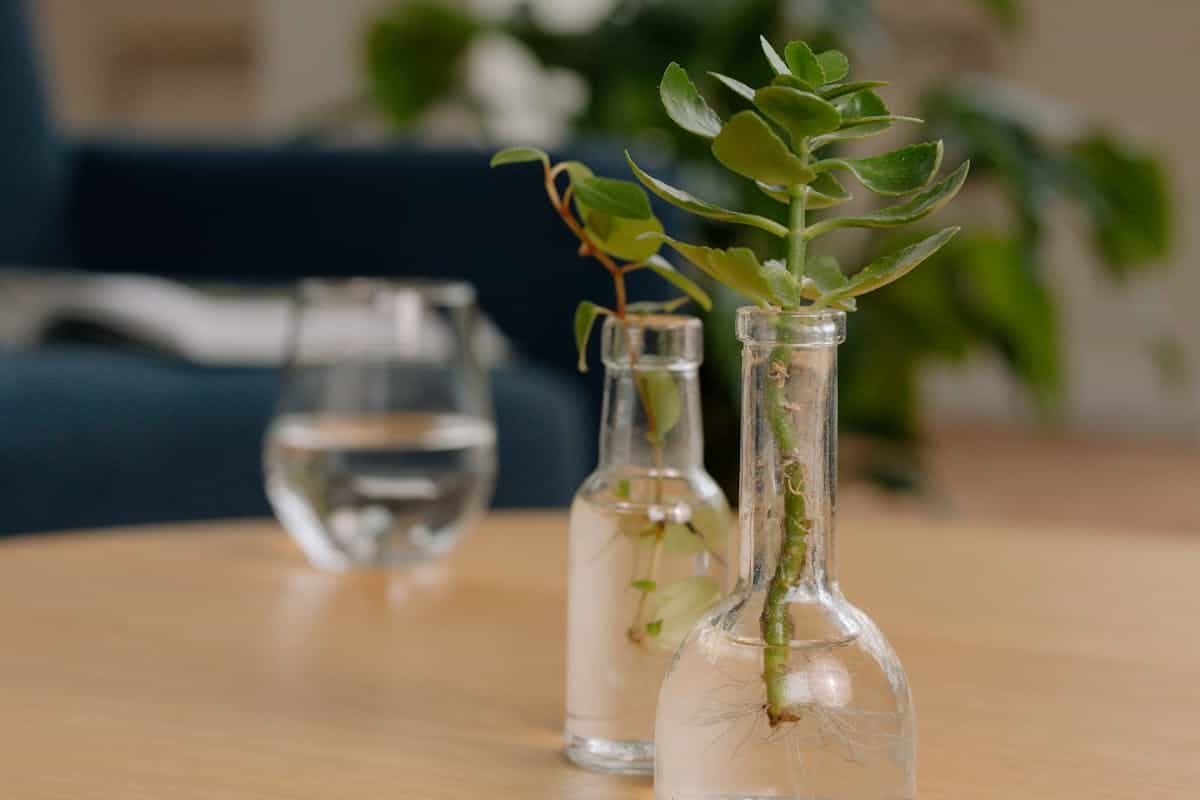
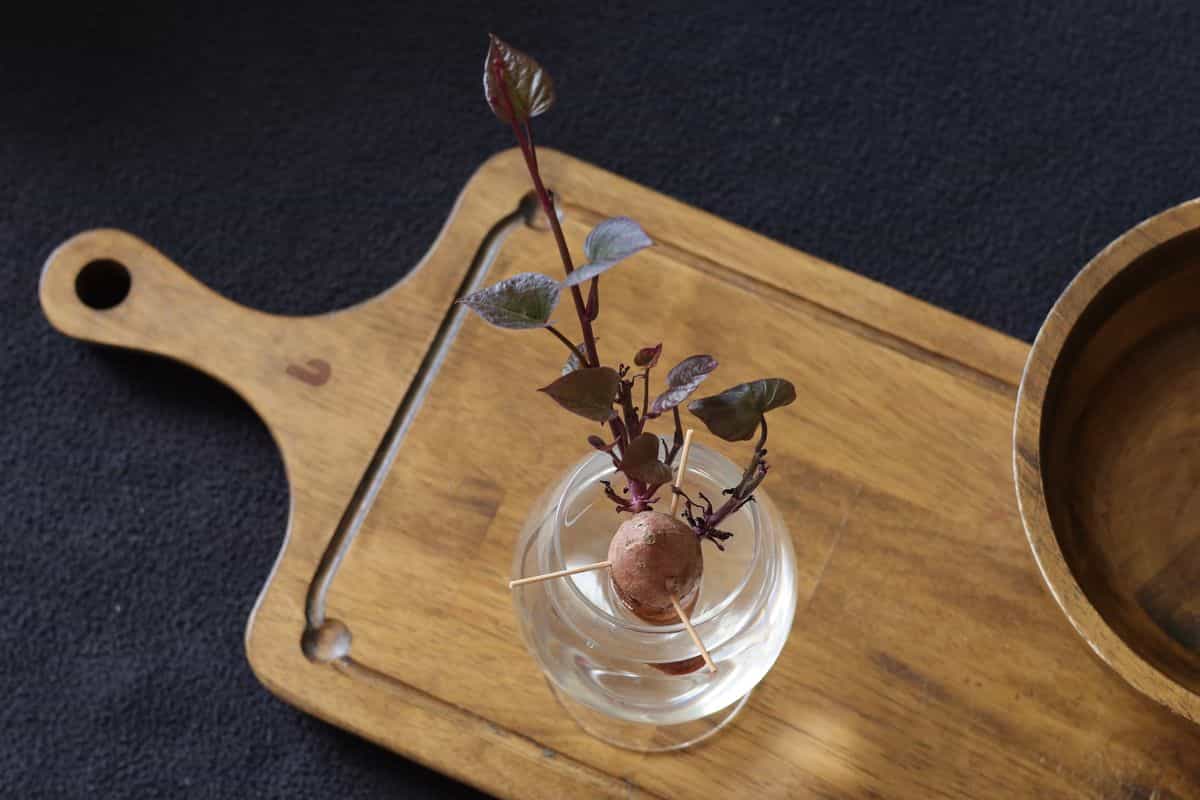
Method 2: Water Propagation
Why this works — and why it is slower than it appears: Water propagation initiates root development rapidly: roots are visible in two to three weeks. The complication is morphological. Roots that develop in water are structurally adapted to an aquatic, low-oxygen environment — they are thinner, carry fewer root hairs, and lack the root hair density required to navigate air gaps in substrate. When transferred to substrate, these water-adapted roots cannot function in the new medium. They die back entirely within one to two weeks of transfer, and the cutting must initiate a completely new root system from scratch.
A documented trial: stem tip cuttings propagated in water showed root length of 3–4 cm at four weeks. Two weeks after substrate transfer, the water-adapted roots had died back entirely. New substrate-adapted roots emerged at three to four weeks post-transfer. The cutting experienced a six-week growth pause between successful water rooting and the first new leaf. Cuttings propagated directly in substrate produced functional roots in three to four weeks with no transition period, and first shoot growth at five weeks.
The net result: water propagation takes longer to produce an established plant than direct substrate propagation, despite the faster initial root appearance.
When water propagation is appropriate: When observing root development is the primary goal — for learning, for monitoring health, or for educational purposes. The visual feedback is genuine value; the method is simply not faster.
The procedure:
- Prepare the cutting exactly as in Method 1 (sterilised cut below a node, remove lower leaves, one to two hours callusing).
- Place in a clean glass or jar with the bottom 3–4 cm of bare stem submerged. No leaves should touch the water.
- Change the water every five to seven days to prevent bacterial buildup.
- Roots appear in two to three weeks at 20–25°C.
- Transfer to substrate when roots are 2–3 cm long — not longer. The longer water roots become, the more morphologically specialised they are, and the harder the transition.
- After transfer, keep the substrate slightly more moist than normal for the first ten days to reduce desiccation stress on the transitional root system. Expect a growth pause of three to six weeks before new leaf production resumes.
Method 3: Leaf Cuttings with Petiole
Why this is slower: A leaf cutting carries no meristematic tissue. The process begins with wound-response callus formation at the cut petiole base. Callus cells must then dedifferentiate — essentially reset their identity — before they can redifferentiate as root-initiation cells. Only then can root and shoot development begin. This cellular reprogramming is why leaf cuttings take roughly twice as long as stem cuttings at every stage of development.
A side-by-side propagation trial using stem tip cuttings and leaf cuttings from the same parent plant, in identical 50/50 perlite/bark substrate at 23°C and 2,500 lux, produced the following:
| Metric | Stem Tip Cuttings | Leaf Cuttings |
|---|---|---|
| Visible root development | 3.5 weeks | 7 weeks |
| First shoot above substrate | 5 weeks | 11 weeks |
| Established plant (3 cm growth) | 10 weeks | 18 weeks |
| Success rate | 9/10 | 6/10 |
Leaf cuttings are the correct choice when stem material is limited — for rare cultivars, when the parent plant cannot be pruned, or when maximising plant count from a single specimen. Where stem cuttings are available, they are faster, more reliable, and produce structurally stronger plants.
The procedure:
- Select a healthy, fully mature leaf. Immature or very old leaves have lower success rates.
- Remove the leaf cleanly at the base of the petiole (the short stalk connecting leaf to stem), cutting as close to the main stem as possible.
- Allow the cut end to callus for three to four hours — longer than for stem cuttings, because the petiole base has a larger cut surface relative to its mass.
- Insert the petiole into propagation substrate (50% perlite + 50% fine bark) at a 45° angle, burying approximately half the petiole length.
- Cover with a humidity dome. The leaf has no root system to replace transpired moisture; without high humidity (70–80% RH), the leaf will desiccate before plantlets emerge.
- Maintain at 22–25°C. Do not water the substrate — mist the surface lightly if it begins to look pale and dry.
- First roots: six to eight weeks. First plantlet above substrate: eight to twelve weeks.
Variegation note: Leaf cuttings from variegated cultivars occasionally produce plantlets with altered or reduced variegation patterns compared to the parent. This is an inherent characteristic of the method, not a care failure. Stem cuttings and division preserve variegation patterns reliably.
Method 4: Division
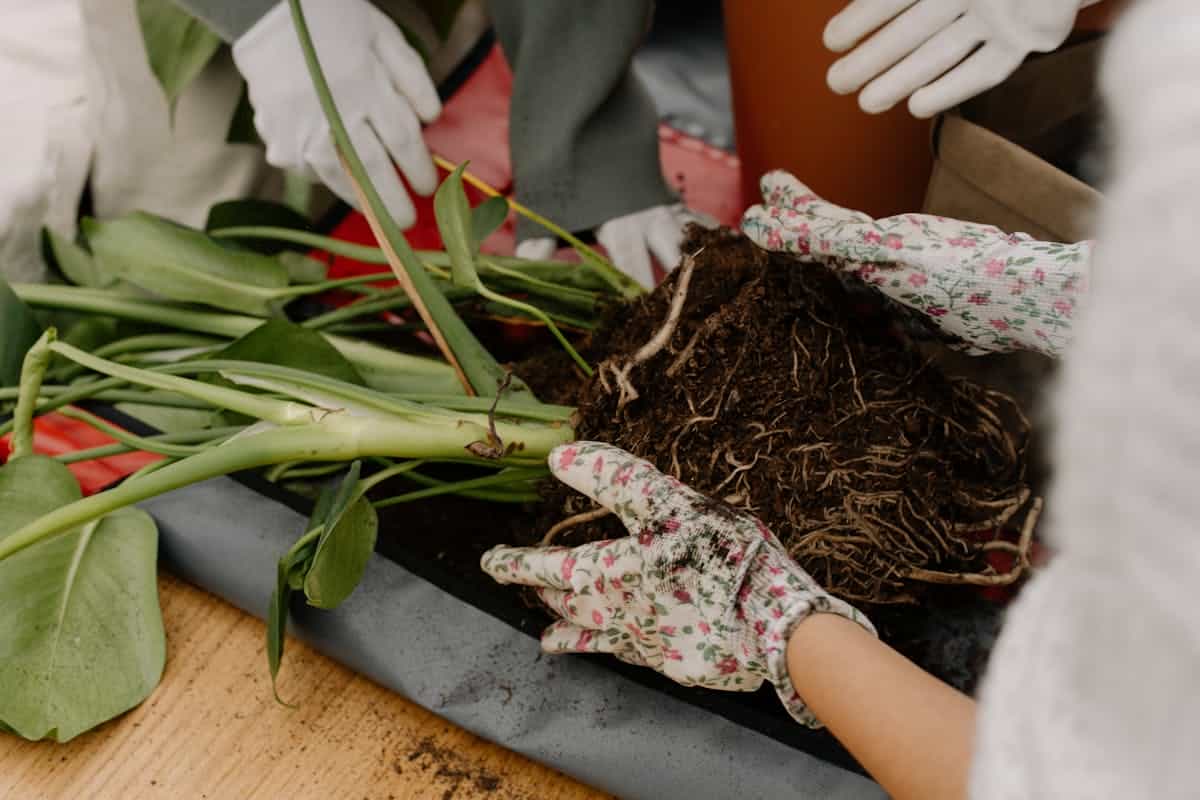
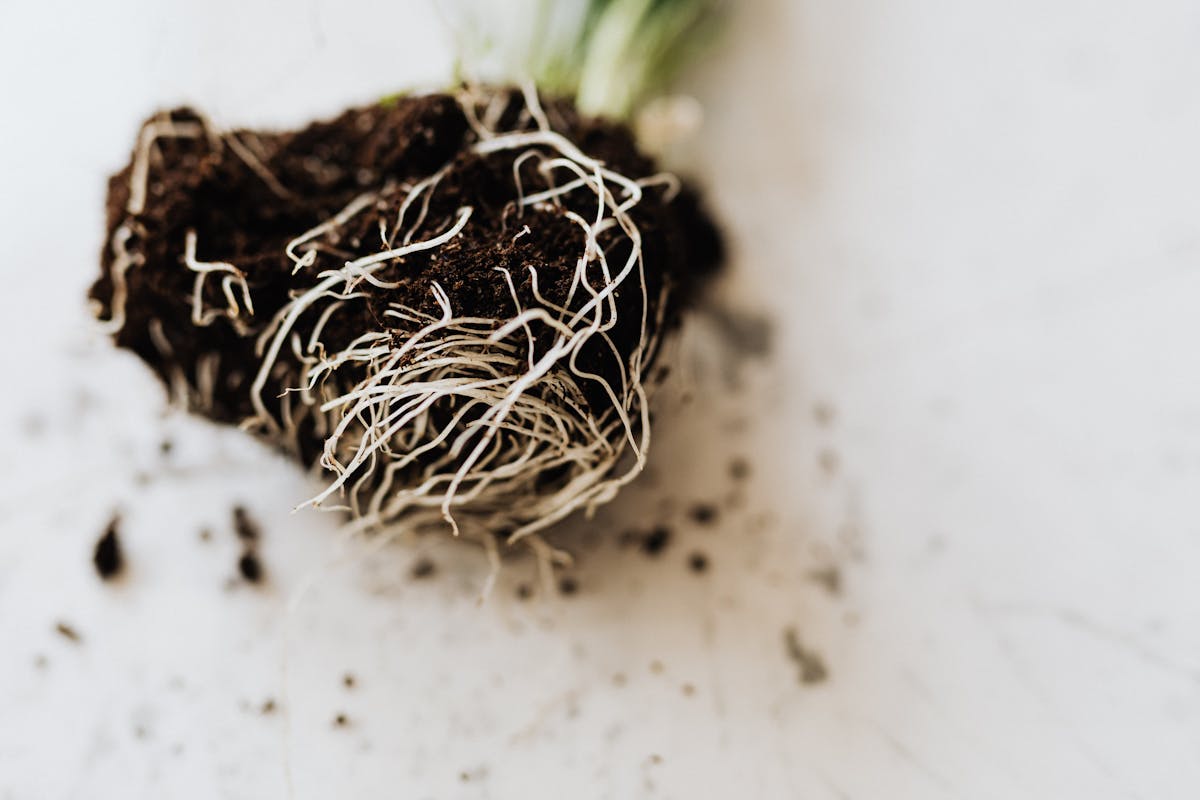
Why this is the most reliable method: Division bypasses the rooting stage entirely. Each divided section carries an established root system, functioning vascular tissue, and existing above-ground growth. There is no leafless, rootless vulnerable period. The plant experiences mild transplant stress — typically one to two weeks of reduced growth — before resuming normal development.
Division is only possible on multi-stemmed specimens where the root ball can be separated without leaving either section with an inadequate root-to-shoot ratio. The natural separation point is the distinction between individual stem clusters at the root ball level. Forcing a division between sections that share a single root mass creates two stressed, under-rooted cuttings rather than two plants.
The procedure:
- Water the plant thoroughly 24 hours before dividing. A well-hydrated root system is more flexible and less prone to tearing.
- Remove the plant from its pot and gently remove loose substrate from the root ball until the individual stem bases and their root attachments are visible.
- Identify natural separation points — locations where individual stems or clusters of stems arise from distinct root sections. Do not force separation along a single fused root mass.
- Tease the root ball apart along the natural separation lines using fingers. Where roots are tightly interwoven, use sterilised scissors to cut, minimising root loss.
- Each divided section must have an intact set of roots proportional to its above-ground growth. A section with two stems and minimal roots will struggle; a section with one stem and a full root system will establish rapidly.
- Pot each section into its own container — only 2–3 cm larger in diameter than the root ball. Place in bright indirect light and water lightly. Full recovery typically takes one to two weeks.
Timing: Division is most efficiently performed at repotting time in early spring (March–April in the northern hemisphere), combining two maintenance tasks.
The Propagation Substrate: Why Medium Composition Matters
The propagation medium for stem and leaf cuttings must be fundamentally different from the growing substrate used for established plants. An unrooted cutting has no roots to regulate its internal moisture balance — it relies entirely on the substrate environment to protect the developing wound site from bacterial colonisation while providing just enough moisture to maintain cell turgor in the cutting tissue.
Standard potting compost is unsuitable for propagation. It retains moisture at levels that keep the unprotected wound site wet for extended periods, creating the bacterial environment that causes rot. Perlite alone drains too fast and holds insufficient moisture to maintain cutting hydration.
The optimal propagation substrate is 50% perlite + 50% fine bark:
- Perlite provides air pockets and rapid drainage, preventing anaerobic conditions at the wound site
- Fine bark retains just enough moisture to maintain cutting turgor without creating wet conditions at the cut surface
Moisten the mix before use until it holds its shape when squeezed but releases no water when squeezed firmly. After inserting the cutting, do not water again until the substrate surface begins to pale — the humidity dome supplies the moisture the cutting needs without creating wet substrate conditions around the wound.
Once rooted and producing its first new leaf, transfer to the standard growing substrate: 50% peat-free compost, 30% perlite, 20% fine bark.
Universal Propagation Rules
These five conditions determine success regardless of method:
1. Timing: Propagate in spring (March–May) or early summer. Meristematic activity peaks as the plant enters its active growth phase. Cuttings taken in winter root significantly more slowly due to suppressed hormonal activity and reduced light for photosynthesis.
2. Sterile tools: Use scissors sterilised with 70% isopropyl alcohol before every cut. Bacterial introduction through a contaminated blade is the most direct cause of cutting rot. Wipe the blade between cuts when working with multiple cuttings.
3. Callusing: Allow the cut surface to air-dry for one to two hours (stem cuttings) or three to four hours (leaf cuttings) before placing in substrate or water. The dried callus surface prevents bacterial entry at the wound site. Do not skip this step.
4. Temperature: Maintain 22–25°C at the root zone. Below 18°C, root initiation slows dramatically. Below 15°C, it may not occur at all. If ambient temperature is low, a heated propagation mat under the pot provides targeted warmth without overheating the cutting.
5. Moisture balance: The substrate should be barely moist — not wet. An unrooted cutting cannot regulate moisture loss through its leaves the way an established plant can; wet substrate around the wound site creates bacterial conditions before protective tissue has formed.
Choosing the Right Method
For most situations: Stem tip cuttings in substrate. Fastest to an established plant, highest success rate, produces structurally strong soil-adapted roots from the start.
To observe root development: Water propagation. Provides visual feedback during the rooting phase, but requires anticipating the transition period and accepting a longer total timeline to an established plant.
When stem material is unavailable: Leaf cuttings with petiole. Slower and lower success rate, but viable for rare cultivars or specimens that cannot be pruned.
For immediate results from a large plant: Division at repotting. No rooting period; each section is a functional plant from day one.
To rescue a failing plant: Take two to three stem tip cuttings from any surviving healthy growth and propagate immediately. Each cutting is an independent insurance plant.
A cutting that has produced its first new leaf has successfully rooted — that new leaf could not have formed without a functional root system supplying water and minerals. At that point, transfer to standard growing substrate and treat as an established plant.
Care FAQ
What is the easiest way to propagate Peperomia obtusifolia?
Division is structurally the easiest — each section retains a complete root system, so there is no rooting period and no vulnerable leafless stage. For creating new plants from a single-stemmed specimen without dividing the parent, stem tip cuttings in substrate are the most reliable method, producing roots in 3–4 weeks at 22–25°C with a 90% success rate.
When is the best time to propagate Peperomia obtusifolia?
Spring (March–May in the northern hemisphere) is optimal. The plant is entering its active growth phase, meristematic activity is at its peak, and ambient temperatures support the 22–25°C root zone temperature that produces the fastest rooting. Cuttings taken in winter root significantly more slowly due to suppressed meristematic activity, and the lower light levels reduce the photosynthetic energy available to unrooted cuttings.
Why do my Peperomia cuttings keep rotting?
The three most common causes: cutting placed directly into wet substrate without a callusing period (the unprotected wound site absorbs bacteria before any protective tissue forms); propagation medium that retains too much moisture (pure potting compost is unsuitable — use 50% perlite + 50% fine bark); and temperatures below 18°C, which suppress root initiation and leave the cutting in a vulnerable unrooted state for too long.
Can you propagate Peperomia obtusifolia from a single leaf?
Yes, but leaf cuttings are substantially slower than stem cuttings. A single leaf with its petiole must generate entirely new meristematic tissue — a process requiring 6–8 weeks for root development and 8–12 weeks before the first shoot emerges above substrate level. Success rate is also lower (approximately 6 out of 10 cuttings) compared to stem tip cuttings (9 out of 10).
How long does Peperomia obtusifolia take to root?
Stem tip cuttings in substrate root in 3–4 weeks at 22–25°C under 70–80% humidity. Leaf cuttings with petiole take 6–8 weeks to develop roots and 8–12 weeks to produce the first shoot. Water-rooted cuttings show root development in 2–3 weeks, but the water-adapted roots typically die back when transferred to substrate, adding a further 3–4 week re-rooting period.