
Best Soil for Peperomia: A Simple Draining Mix
The best peperomia soil mix for Peperomia obtusifolia is 50% coco coir, 30% coarse perlite, and 20% fine orchid bark. This ratio produces an air-filled porosity (AFP) of 20–30%, replicating the loose, oxygen-rich conditions of the species' native epiphytic habitat in the tropical understorey of Venezuela and Colombia. Standard all-purpose potting compost retains moisture for 10–14 days in a sealed indoor container — a duration that exceeds the species' substrate saturation tolerance of 5 days and is the primary structural cause of root rot in container specimens.
Most commercial specimens arrive in dense, peat-heavy nursery compost calibrated for high-irrigation greenhouse conditions, where rapid evaporation compensates for poor drainage. In a typical home at 800–1,500 lux and standard indoor humidity, evaporation drops sharply. A nursery substrate that drains adequately at 5,000+ lux and high airflow becomes one that stays wet for 10 days or more in a living room. The substrate failure is structural, not a consequence of how often the plant is watered.
| Ingredient | Proportion | Function | pH |
|---|---|---|---|
| Coco coir or peat-free compost | 50% | Moisture buffer, organic base | 6.0–6.8 |
| Coarse perlite (or pumice) | 30% | Macroporosity, oxygen at root zone | Inert |
| Fine to medium orchid bark | 20% | Structural chunks, epiphytic simulation | 5.5–6.5 |
| Worm castings (optional) | Small handful | Slow-release organic nutrition | Near-neutral |
| Horticultural charcoal (optional) | Small handful | Toxin absorption, odour control | Inert |
Target pH: 6.0–6.6 (Missouri Botanical Garden)
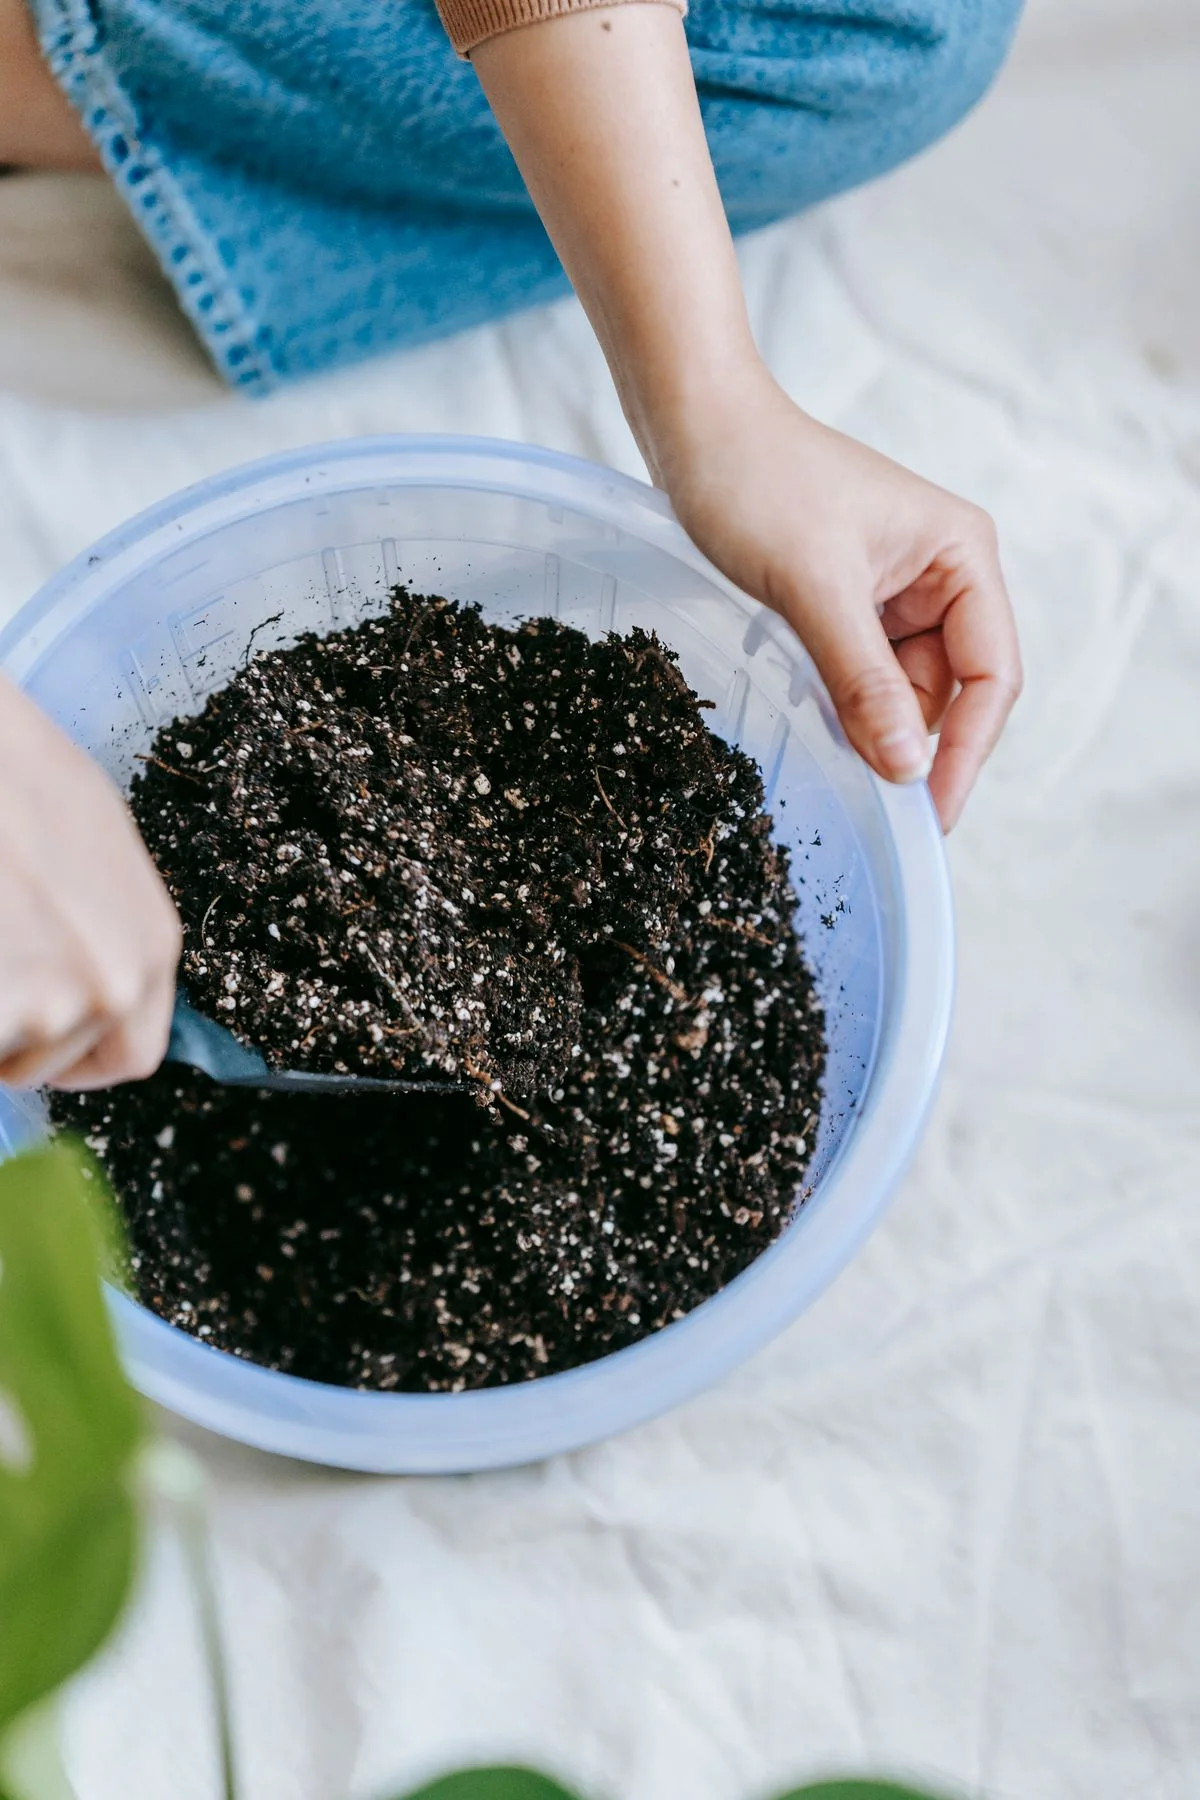
1. Peperomia Soil Mix: Why Standard Potting Compost Fails
Peperomia obtusifolia is a facultative epiphyte. In its native Venezuelan and Colombian understorey, at elevations of 0–1,500 m, it colonises both decomposing leaf litter on the forest floor and the bark of tree trunks — substrates that share two properties: rapid dry-down and abundant macro-pore oxygen. Its root system reflects this ecology: fine, thready, shallow roots adapted to an oxygen-rich medium that undergoes complete dry-down cycles between rainfall events.
Standard multipurpose compost eliminates macro-pores between particles. Once saturated, capillary tension holds water in the micro-pore network indefinitely, displacing oxygen from the root zone. Root cells performing aerobic respiration deplete available oxygen within 48–72 hours. Beyond 5 days of continuous saturation, root anoxia creates the conditions for Pythium and Phytophthora colonisation — the pathogens responsible for the soft, sour-smelling root collapse that presents as sudden leaf drop. Root rot is not a watering error in isolation; it is a substrate failure that watering errors accelerate.
The NC State Extension Gardener Plant Toolbox entry for Peperomia obtusifolia classifies the species as requiring "well-drained" media, consistent with its epiphytic root biology.
How roots actually breathe explains why the failure is structural, not just a watering mistake. Root cells take up oxygen from air-filled pore spaces between substrate particles and use it for aerobic cellular respiration — the same process that produces the energy roots need for active nutrient uptake and growth. Oxygen diffuses through water roughly three to four orders of magnitude more slowly than through air, so once those pores fill with water, the oxygen already dissolved nearby is used up within a couple of days and cannot be meaningfully replenished until the substrate drains. Deprived of oxygen, root cells switch toward fermentation-based metabolism, which is far less efficient and produces byproducts that stress the tissue directly, well before any pathogen becomes involved — the soft, sour-smelling root collapse typically blamed entirely on Pythium or Phytophthora is frequently a secondary infection following this oxygen failure, not the primary cause. This is also why a plant can wilt or yellow while the substrate is still visibly wet: the roots have lost the capacity to take up water that is physically present, a pattern easy to mistake for underwatering if the substrate isn't checked directly.
For intervention once root damage has progressed, see the Overwatering and Root Rot Rescue Guide. A substrate that stays wet for the wrong reasons also shows up on the foliage before the roots are inspected — see the black spots guide if leaves are already showing dark lesions alongside a substrate that never seems to dry.
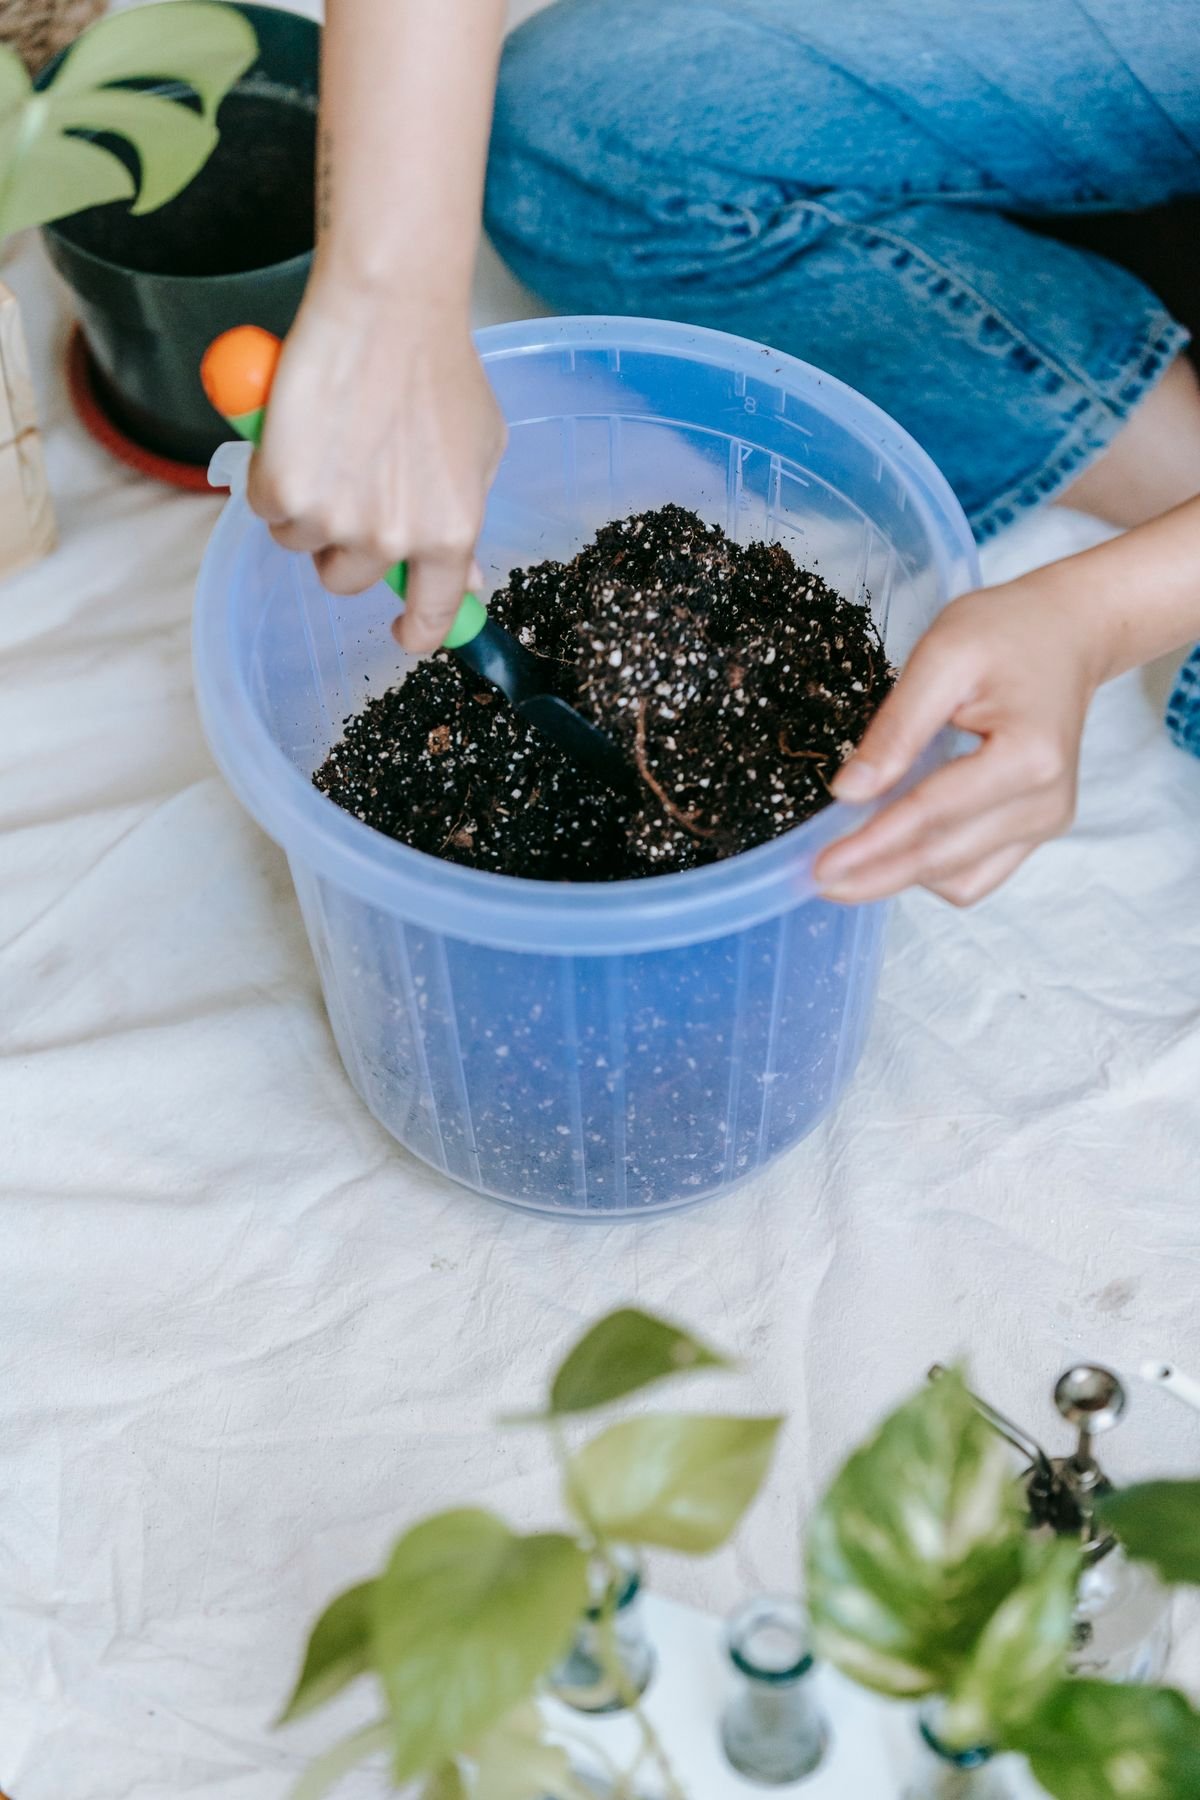
2. The Three Functional Ingredients: Role and Mechanism
Each of the three primary components performs a distinct physical role in the substrate system.
Coco Coir (50%) — Moisture Buffer
Coco coir is a byproduct of coconut husk processing with a naturally neutral pH of 6.0–6.8. Unlike peat moss, it does not become hydrophobic when fully dried. Peat moss, when desiccated, repels water on rewetting, creating dry pockets in the root zone even after thorough irrigation — a significant risk for a species that requires complete substrate dry-down between waterings. Coco coir's fibre structure also resists compaction over time. On sustainability and functional grounds, it is the superior base ingredient.
Coarse Perlite (30%) — Oxygen Delivery
Coarse horticultural perlite is expanded volcanic glass. Its angular, porous particle structure creates macro-pores — air gaps that remain partially open even when surrounding particles hold moisture, providing simultaneous moisture availability and oxygen access at the root surface. Pumice is a viable substitute with equivalent porosity and trace mineral content (silica, calcium, magnesium). Both are effective; perlite is more consistently sized and widely available.
Fine to Medium Orchid Bark (20%) — Structural Integrity
Fine to medium orchid bark replicates the decomposing woody debris of Peperomia's native forest floor. Its chunky particle size resists compaction over 12–24 months, preserving the air channels that the perlite fraction alone cannot sustain at scale. Unlike inorganic perlite, bark decomposes slowly and contributes trace organic matter over time. This decomposition is also the reason substrate refreshes are necessary — the structural component is gradually consumed.
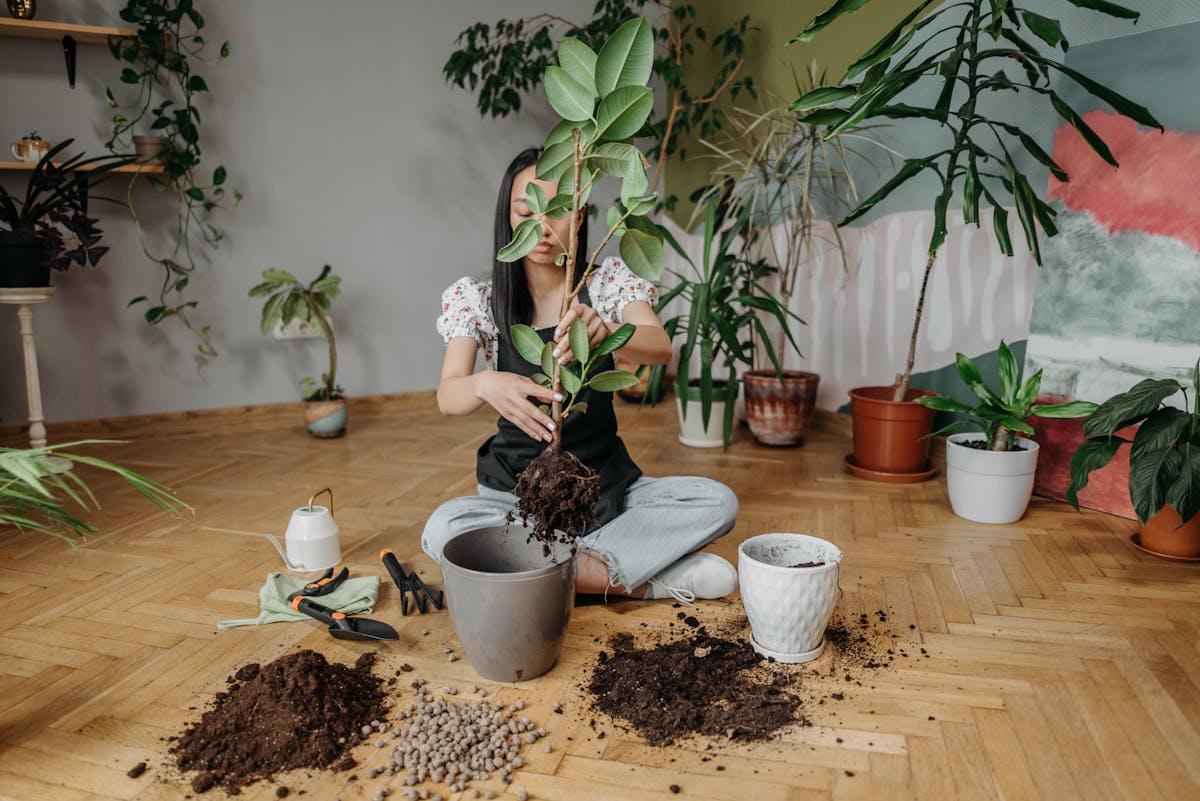
3. The Recommended Recipe and the Squeeze Test
This recipe uses any consistent unit of measurement — a cup, a litre, a scoop:
| Ingredient | Proportion | Parts |
|---|---|---|
| Coco coir or peat-free compost | 50% | 2 parts |
| Coarse perlite | 30% | 1.5 parts |
| Fine to medium orchid bark | 20% | 1 part |
| Worm castings (optional) | Small handful | — |
| Horticultural charcoal (optional) | Small handful | — |
Worm castings provide a low-concentration, slow-release nitrogen source without the osmotic stress risk of synthetic fertilisers applied at full strength. Horticultural charcoal absorbs soluble toxins and volatile compounds from decomposing organic matter, reducing the risk of the sour-smell condition that signals anaerobic activity.
The Squeeze Test
After mixing, compress a handful of the dry substrate firmly. When you open your hand:
- Pass: The mix falls apart immediately and feels light and springy. Air-filled porosity is adequate.
- Fail: The mix holds its shape in a compact ball. Add perlite in 10% increments until it passes.
This test identifies insufficient aeration before the substrate is ever used. A mix that fails the Squeeze Test in the dry state will fail significantly more once saturated.
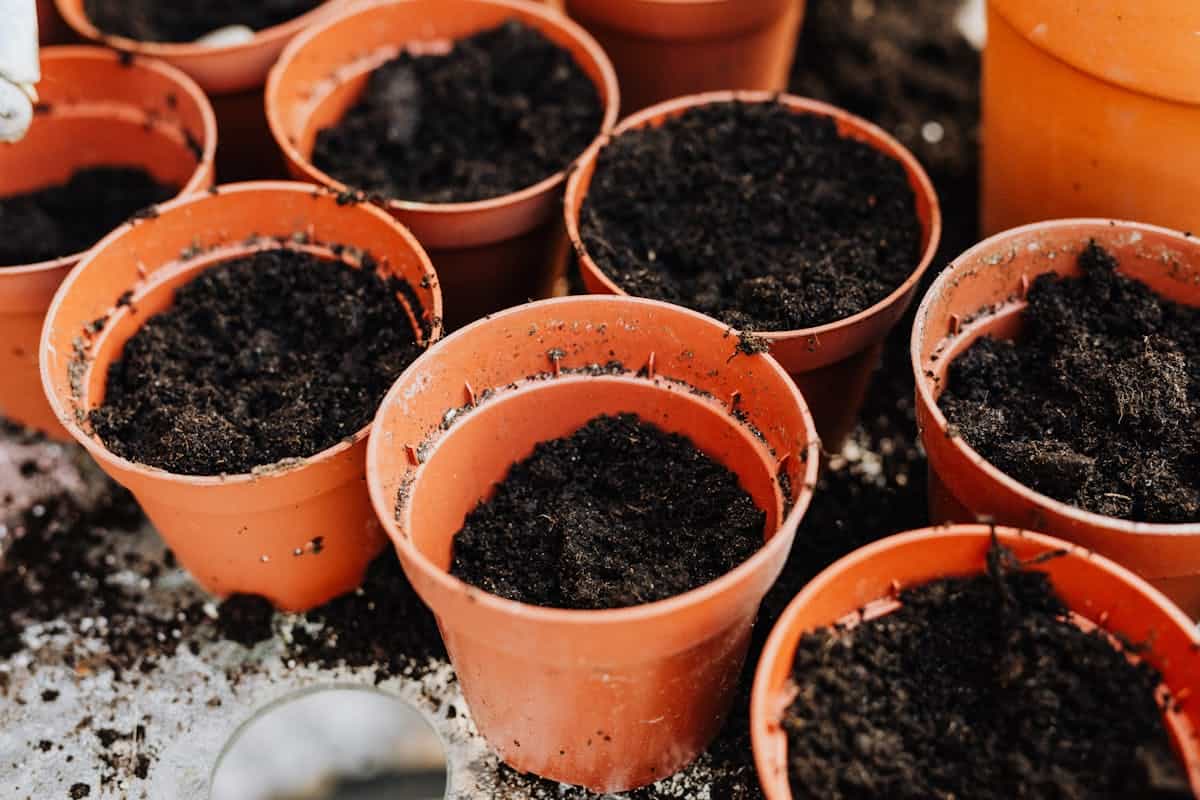
4. Alternative Recipes: Adapting to Container Type and Environment
The 50/30/20 ratio is a calibrated starting point. Three variables justify adjustment: container material, ambient humidity, and watering frequency.
For Terracotta Pots
Terracotta is a porous ceramic that wicks moisture from the substrate 30–40% faster than plastic or glazed ceramic. This accelerated evaporation compensates for a reduced perlite fraction. Reduce perlite to 20% and increase coco coir to 60% to maintain an equivalent dry-down interval. For a full analysis of how container material affects watering frequency, see the Terracotta vs. Plastic Pots Guide; for size, drainage-hole count, and material trade-offs beyond terracotta versus plastic, see the complete pots guide.
For Low-Humidity Environments (Below 40% RH)
In dry air-conditioned rooms or during winter central heating, the substrate surface desiccates faster than the mid-substrate root zone. Reduce perlite to 20% and incorporate 10% sphagnum moss, mixed through the substrate rather than used as top dressing, to increase mid-level moisture retention without sacrificing structural porosity.
For High-Humidity Environments (Above 65% RH)
Where ambient humidity slows substrate evaporation, increase bark to 35–40% of the total mix. Dense packing is the primary fungal and bacterial risk at high humidity; structural bark fragments prevent the substrate from compressing into an oxygen-depleted mass.
The Beginner's Shortcut
A 70% cactus or succulent mix combined with 30% coarse perlite is a viable approximation when sourcing individual components is impractical. This formulation lacks the structural complexity of bark-based substrate and requires a refresh at 18 months rather than 24–36 months.
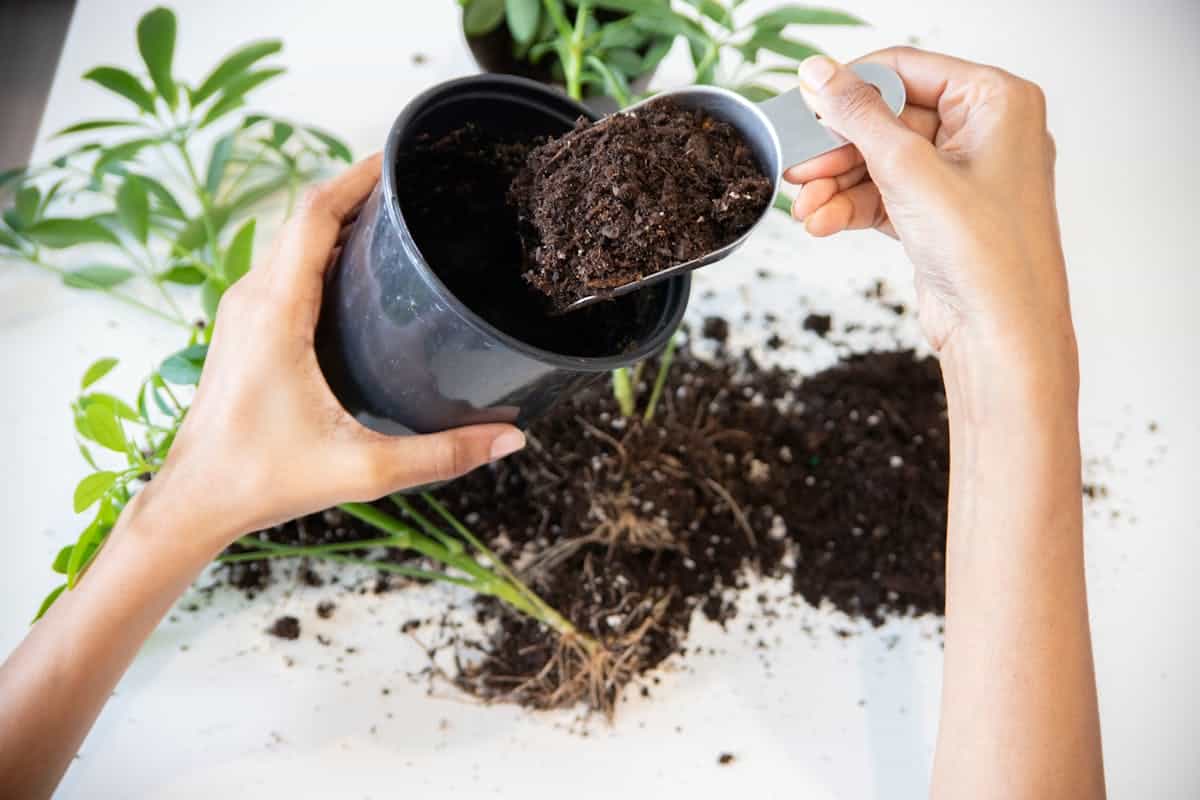
5. What NOT to Use — Including One Widely Practised Addition That Worsens Drainage
- Garden soil: Compacts severely in a container, eliminates macro-pores, and introduces outdoor pathogen load.
- Standard all-purpose potting compost (alone): Moisture-retentive formulas hold water for 10–14 days in a sealed container — four to nine days beyond this species' substrate saturation tolerance.
- Moisture-control or water-retaining mixes: Engineered to hold water longer between irrigations — the precise property being counteracted for this species.
- Coarse horticultural sand: Counter-intuitively, sand fills the spaces between soil particles and can reduce overall porosity compared to pure compost. The Royal Horticultural Society's Peperomia care guide recommends a free-draining compost as the non-negotiable baseline for all varieties; sand is not listed as a drainage amendment.
The drainage rock layer makes drainage worse, not better. Placing gravel or pebbles at the base of a pot before adding substrate is one of the most widely repeated and most structurally incorrect practices in container horticulture. The perched water table — the saturated zone that forms at the bottom of any container — sits at the interface between the substrate and whatever layer lies beneath it. A gravel layer raises that interface upward into the active root zone, shortening the column of drainable substrate available to the roots. The correct drainage intervention is a single drainage hole and a free-draining substrate (≥30% perlite by volume), not a rock layer.
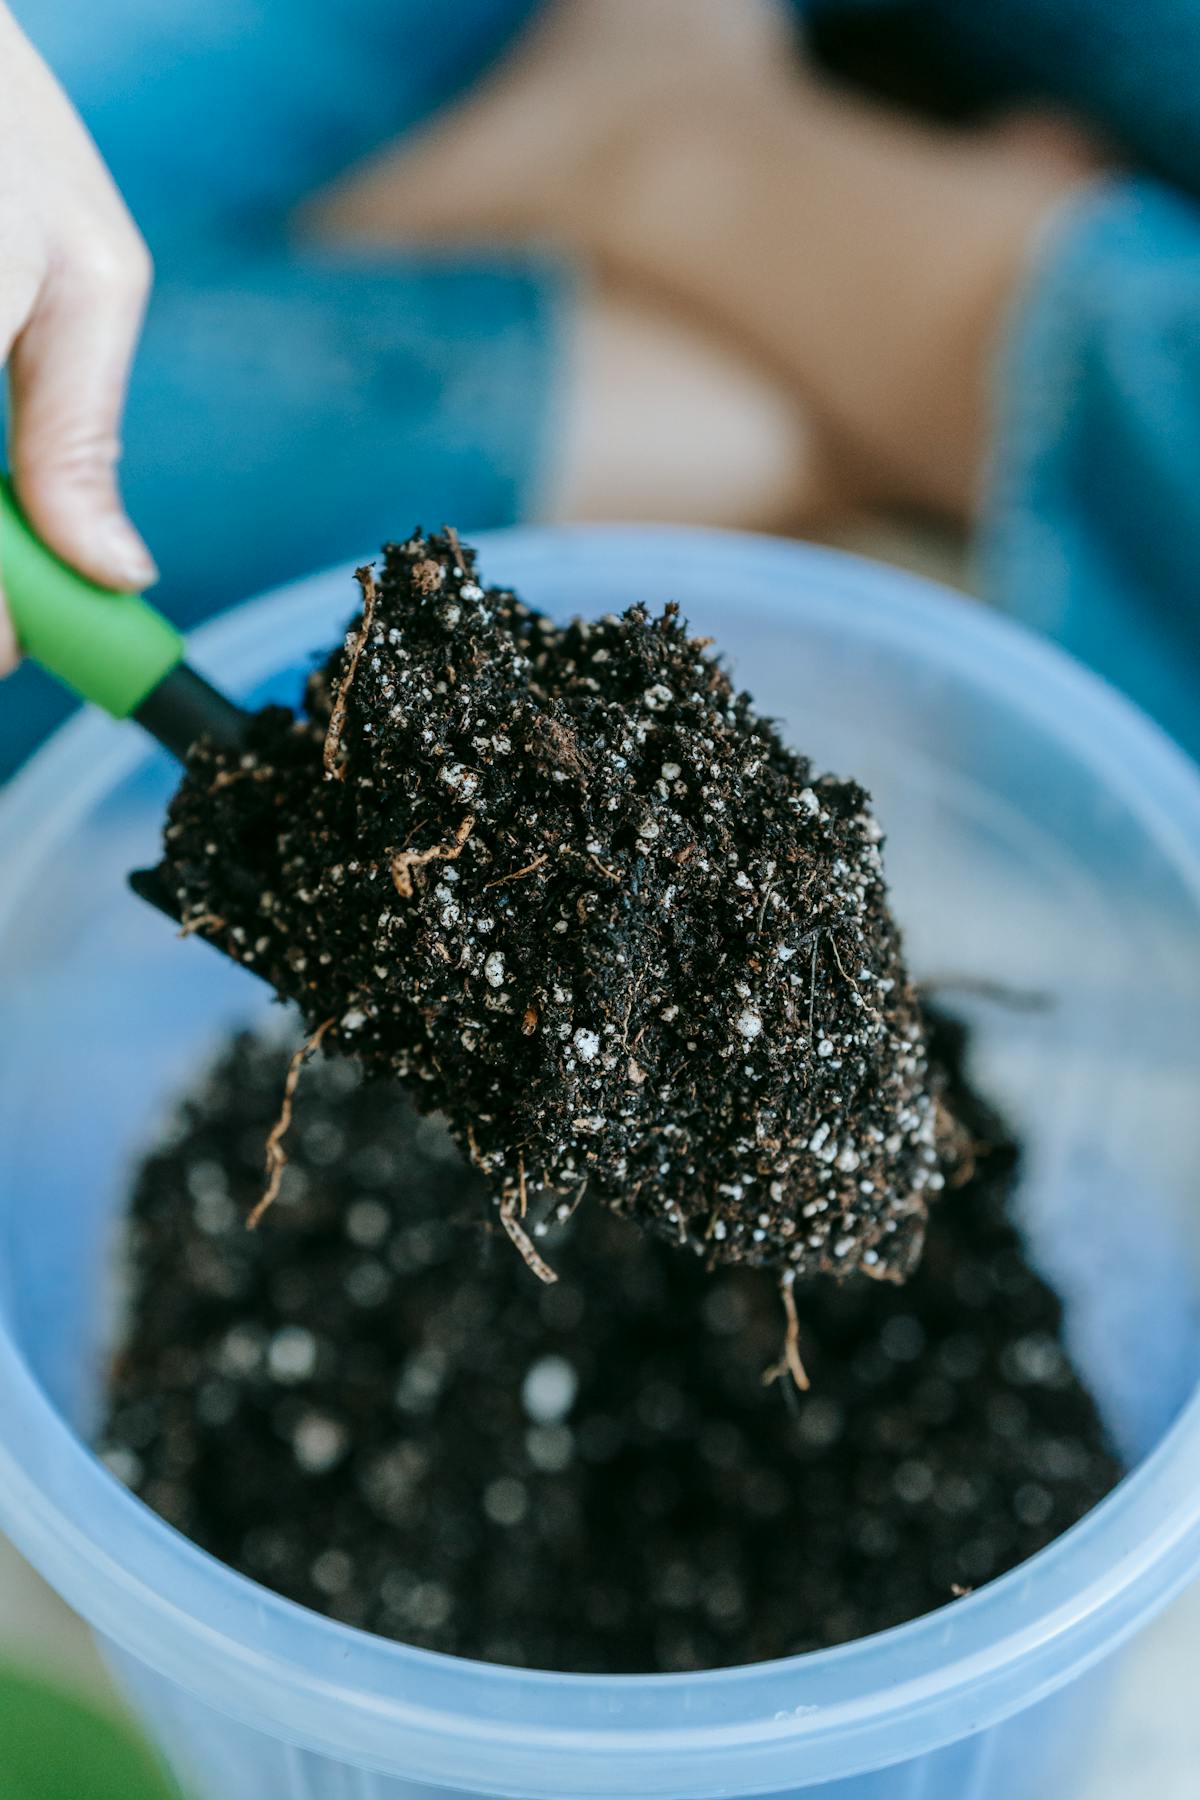
6. Decorative Moss as a Soil Topper: Worth the Risk?
A layer of decorative moss over the substrate surface gives a finished, forest-floor look, but it works against this species' dry-down requirement more than most other soil toppers do. Moss holds moisture against the substrate surface, slowing the evaporation this species relies on to bring air back into the pores after watering, and it also hides the substrate from view — the top-2-3cm dryness check that normally drives the watering decision becomes a guess once moss covers it. Damp moss is additionally a favoured breeding site for fungus gnats, compounding the moisture problem with a pest one.
If the look matters enough to accept the trade-offs, a few adjustments reduce the risk considerably: use preserved (dried) moss rather than living moss, since live moss needs regular misting to stay green and this species' own care already avoids misting for the same reasons covered in the humidity guide; leave a small gap of bare substrate around the stem base rather than covering the surface edge-to-edge, preserving some airflow at the crown; and lift the moss to check the substrate directly before every watering rather than watering through it, since moss left in place simply absorbs water at the surface and stays damp regardless of what the substrate underneath actually needs. A more reliable alternative that avoids the moisture problem entirely is placing the nursery pot inside a larger decorative pot and filling the gap between the two with moss, keeping it away from the substrate surface altogether. Porous options such as fine pine bark, pumice, or a thin layer of lava rock achieve a similar finished look while actually supporting airflow rather than trapping moisture.
7. Signs the Substrate Has Deteriorated: When to Refresh
Orchid bark decomposes in 12–24 months; perlite migrates downward over time, concentrating drainage capacity at the base while the upper root zone becomes progressively more compacted. Three diagnostic signs the substrate has crossed from functional to degraded:
- The pot dries completely within 2–3 days of watering. Bark has fully decomposed, the mix has compacted, and water now passes through without retention. The root zone experiences drought stress between irrigations despite regular watering.
- A sour, fermented smell from the substrate surface. Anaerobic bacteria are active in an oxygen-depleted zone. This is a pre-root-rot condition requiring immediate substrate replacement.
- Visible white crust on the substrate surface. Mineral salt accumulation from tap water, concentrated in the upper substrate by repeated bottom-watering without periodic top-flushing.
- A fungus gnat population establishes in the top 2 cm. Bradysia larvae feed on decaying organic matter and require sustained surface moisture to complete their life cycle; a persistent infestation indicates the coco coir fraction is staying wet for longer than the recipe's design tolerance, not that the plant needs treating for pests alone.
A humic acid soil conditioner can help keep micronutrients available in this mix as it ages, but it doesn't substitute for the refresh interval below once bark has genuinely decomposed. Refresh interval: every 2–3 years for actively growing specimens. Variegated cultivars ('Variegata', 'Marble') grow more slowly, so bark decomposition reaches the critical threshold at 12–18 months without the root turnover to compensate. The four signs above are substrate-specific; for the broader set of triggers — root-bound symptoms, pot size, growth stalling — see the signs it's time to repot guide. For complete repotting method and timing, see the Repotting Guide.
P. obtusifolia is listed as non-toxic to cats, dogs, and horses by the ASPCA. Repotting and substrate handling do not present a pet safety risk with this species.
Conclusion
A correctly formulated peperomia soil mix is the single most controllable variable in Peperomia obtusifolia care, because it decides whether the root zone stays aerobic between waterings. The 50% coco coir, 30% perlite, 20% orchid bark ratio creates the air-filled, fast-draining, epiphytically appropriate environment this species evolved for — and it expands the margin for watering error in the process: it drains rapidly enough to tolerate an occasional overwater, while retaining sufficient moisture to survive a missed irrigation without immediate drought stress.
Care FAQ
What is the best soil mix for Peperomia obtusifolia?
The best soil mix for Peperomia obtusifolia is 50% coco coir, 30% coarse perlite, and 20% fine orchid bark. This ratio produces an air-filled porosity of 20–30%, replicating the loose, oxygen-rich conditions of the species' native epiphytic habitat in the tropical understorey of Venezuela and Colombia. Standard all-purpose potting compost retains moisture well beyond this species' root zone tolerance of 5 days and is the primary structural cause of root rot in container specimens.
Can I use cactus soil for Peperomia?
A cactus or succulent mix is a viable starting point but is typically too sandy and low in organic matter for Peperomia obtusifolia's fine root system. The best adaptation is 70% cactus mix combined with 30% coarse perlite. This formulation lacks the structural complexity of orchid bark and will require a substrate refresh at 18 months rather than 24–36 months.
Does Peperomia need special soil?
Peperomia obtusifolia cannot survive long-term in standard, heavy garden soil or unamended all-purpose potting compost. These media retain moisture for 10–14 days in a sealed indoor container — four to nine days beyond this species' substrate saturation tolerance. A DIY mix of coco coir, perlite, and orchid bark is not a specialist product; all three components are widely available from garden centres and online retailers.
Does Peperomia like acidic soil?
Peperomia obtusifolia performs best in a slightly acidic to neutral substrate with a pH of 6.0–6.6, as specified by the Missouri Botanical Garden. Coco coir is the preferred base ingredient because its pH falls naturally in this range (6.0–6.8), unlike peat moss, which is often excessively acidic and requires lime amendment to stabilise. Orchid bark contributes a slightly acidic component (pH 5.5–6.5) that typically keeps the blended mix within the optimal range without additional adjustment.
How often should I repot or change the soil for Peperomia obtusifolia?
The substrate should be fully refreshed every 2–3 years for actively growing specimens, or every 12–18 months for slow-growing variegated cultivars ('Variegata', 'Marble'). Orchid bark, the structural component, decomposes in 12–24 months, gradually eliminating the air-filled porosity the recipe is designed to create. A pot that dries completely within 2–3 days of watering, or emits a sour smell from the substrate surface, indicates the mix has degraded and requires replacement.
Can I use orchid potting mix for Peperomia?
A standard orchid bark mix is too coarse and too low in moisture-retaining organic matter to function as the sole substrate for Peperomia obtusifolia. It is, however, an excellent source of the bark component: use fine to medium orchid bark as 20% of the total mix, combined with coco coir (50%) and coarse perlite (30%). Using orchid mix alone produces a substrate that dries within 24 hours of watering and causes chronic drought stress.