
Peperomia Cuttings Rotting: Prevention & Rescue Protocol
Peperomia obtusifolia cuttings rot when the cut surface stays wet before it has formed a protective callus, giving anaerobic pathogens — chiefly Pythium and bacterial soft rot organisms — a direct entry point into the vascular tissue. The fix is sequencing, not luck: let the cut dry and seal for 24-48 hours before it ever touches water or moist medium. A cutting already rotting can sometimes be rescued by cutting well above the infected margin into clean tissue and restarting the callusing process from scratch.
Why the Cut Surface Fails
Taking a cutting exposes the xylem and phloem — the plant's internal water and nutrient transport tissue — directly to the environment. In an intact plant, this tissue is protected by the epidermis and cuticle; on a fresh cut, it is an open wound. If that wound is submerged in water or pressed into damp substrate before it has sealed, it becomes a high-moisture entry point for opportunistic pathogens already present in the air, in tap water, and in most potting media.
The plant's own defence is suberisation — depositing a waxy, waterproof polymer across the exposed cell walls at the cut face. A properly callused cut develops a dry, firm, slightly discoloured surface within 24-48 hours; this barrier both blocks pathogen entry and prevents water from rushing into the vascular tissue too quickly and rupturing cells. Skipping this step is the single most common cause of cutting failure in this species, well ahead of medium choice or humidity.
The Two Pathogen Types, and Why the Distinction Matters
| Feature | Pythium / Phytophthora (oomycete) | Bacterial soft rot |
|---|---|---|
| Appearance | Brown, firmer border, advances over days | Translucent, water-soaked, collapses within hours |
| Smell | Mild or earthy | Distinctly sour or putrid |
| Rescue prospects | Often good if firm tissue remains above the margin | Usually poor — discard is the practical choice |
Pythium is a water mould that thrives in low-oxygen, waterlogged conditions and dissolves the pectin binding plant cells together, producing the soft, mushy texture growers describe as the cutting "melting." Bacterial soft rot organisms work faster and announce themselves with a distinctly foul smell rather than the milder, earthier odour of oomycete decay. The practical distinction matters because it sets expectations: a firm, brown-bordered decay is frequently salvageable by cutting above it, while a stem that has gone translucent and collapses under light pressure along most of its length rarely is — the pathogen has likely travelled ahead of the visible front through the vascular system, and chasing it upward just wastes time and contaminates tools.
Common triggers behind either pathogen gaining entry: skipping the callus step, submerging leaves along with the stem, stagnant unchanged water, a dense wet medium with poor aeration, and a sealed humidity dome with no airflow.
When a Cutting Fails for Reasons Other Than Rot
Not every failed cutting has rotted — a firm, intact stem that simply never produces roots usually points to one of three non-pathogenic causes instead.
Insufficient light. Root initiation is metabolically expensive, and the meristematic cells at the node draw on glucose the leaves produce through photosynthesis. A cutting placed in a dim corner specifically to "reduce stress" instead starves the very process it needs to fuel — keep cuttings in the same roughly 2,000-4,000 lux bright indirect range this species needs generally, not a shaded spot.
A cutting taken entirely from internode tissue. Roots can only emerge from nodes — the joints where a leaf attaches to the stem — since that is where the meristematic cell clusters capable of forming new roots are concentrated. The smooth internode between two nodes lacks this tissue entirely, so a cutting without at least one node simply cannot root, no matter how long it sits in water or medium; it will eventually succumb to decay from prolonged submersion instead. See the node propagation guide for how to identify a viable cut point.
Excess water loss before roots exist. Until roots form, a cutting can only take up water slowly through the cut surface itself, while its leaves continue losing water through transpiration as normal. In dry air, that imbalance causes wilting even in a cutting that isn't rotting at all — raising local humidity around the cutting, covered in the humidity tent guide, narrows that gap until roots take over.
Prevention: The Callusing Protocol
- Take the cutting with a blade sterilised in 70% isopropyl alcohol, cutting just below a node — the full method is in the stem cutting guide.
- Place the cutting on a clean, dry surface in a shaded spot for 24-48 hours. Do not cover it or introduce any moisture during this window.
- Confirm the cut end has developed a firm, dry, slightly discoloured surface — the exact timing by stem thickness is covered in the callus timing guide. A base that is still green and moist after 24 hours needs more time.
- If rooting in water, submerge only the bottom 1-2 cm of stem, keep any leaves clear of the waterline, and change the water every 5-7 days to prevent the oxygen depletion and bacterial buildup that stagnant water produces — the full method is in the water propagation guide.
- If rooting in substrate, use a free-draining mix of at least 30% inorganic content (perlite or pumice) — the full recipe is in the propagation substrate guide — rather than a dense, moisture-retentive potting compost.
Rescuing a Cutting That Has Already Started Rotting
This is the direct answer to "how do I save a rotted stem cutting": act the same day softness is noticed, since waiting allows the infected margin to advance through the last usable node.
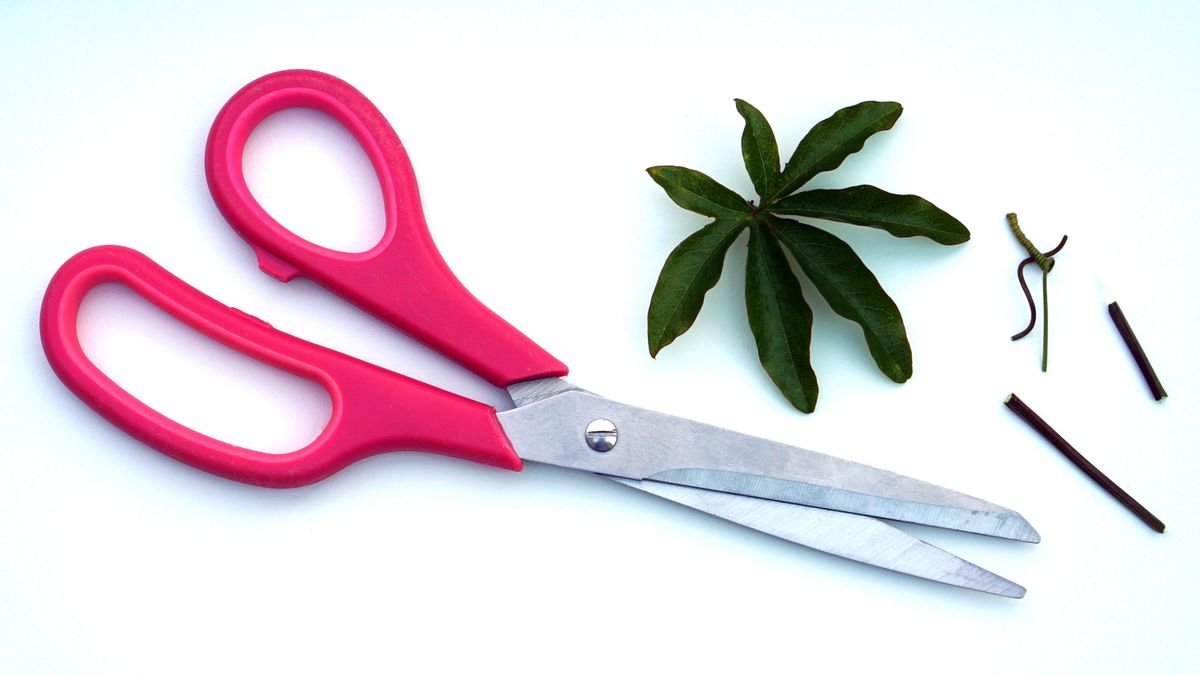
- Isolate and sterilise. Move the affected cutting away from other propagations. Wipe the blade with 70% isopropyl alcohol, re-wiping between every cut.
- Cut 1-2 cm above the visible margin. Surface discolouration underestimates how far the infection has actually spread internally, which is why the excision needs to sit clearly above what is visible rather than right at the edge of it.
- Check the cross-section. A healthy face is firm, cream-white or pale green, and odourless, with no brown ring or central discolouration. If the cross-section is stained, re-sterilise the blade and cut a further centimetre higher, repeating until the face is clean.
- Callus again before re-rooting. Air-dry the new cut for 24-48 hours in shade exactly as in the prevention protocol above — a rescued cutting still needs to seal before touching moisture again. A light dusting of powdered cinnamon on the cut surface is an optional antifungal aid at this stage, though it is not a substitute for the excision itself.
- Re-root in completely fresh medium. Never reuse the water or substrate the cutting was rotting in — start in clean perlite or a fresh jar of water, holding
18-24°Cand bright indirect light in the roughly2,000-4,000 luxrange.
If the clean section above the cut is long enough to include two nodes, keep both — one buried for rooting, one leafy for continued photosynthesis during the restart. A single-node rescue can still root, but it carries a smaller energy reserve if a leaf yellows during recovery.
Troubleshooting a Rescued Cutting
| Symptom after restart | Likely cause | Action |
|---|---|---|
| Softness returns within 3-5 days | The cut was made through already-stained tissue | Re-excise higher, and extend the callus period |
| Leaves wilted but stem still firm | Light too strong or humidity too low for a short cutting | Move to bright indirect light without a sealed dome |
| No roots after 4 weeks | Room too cool, or medium too wet | Hold 18-24°C and refresh the medium |
A clear or white fuzzy film on a water-propagated cutting is not necessarily rot — it is often a harmless or neutral biofilm. Rinse the stem under running water, wipe away the film, and replace the water; if the tissue underneath remains firm and green, the cutting is still viable.
How Short Is Too Short to Rescue
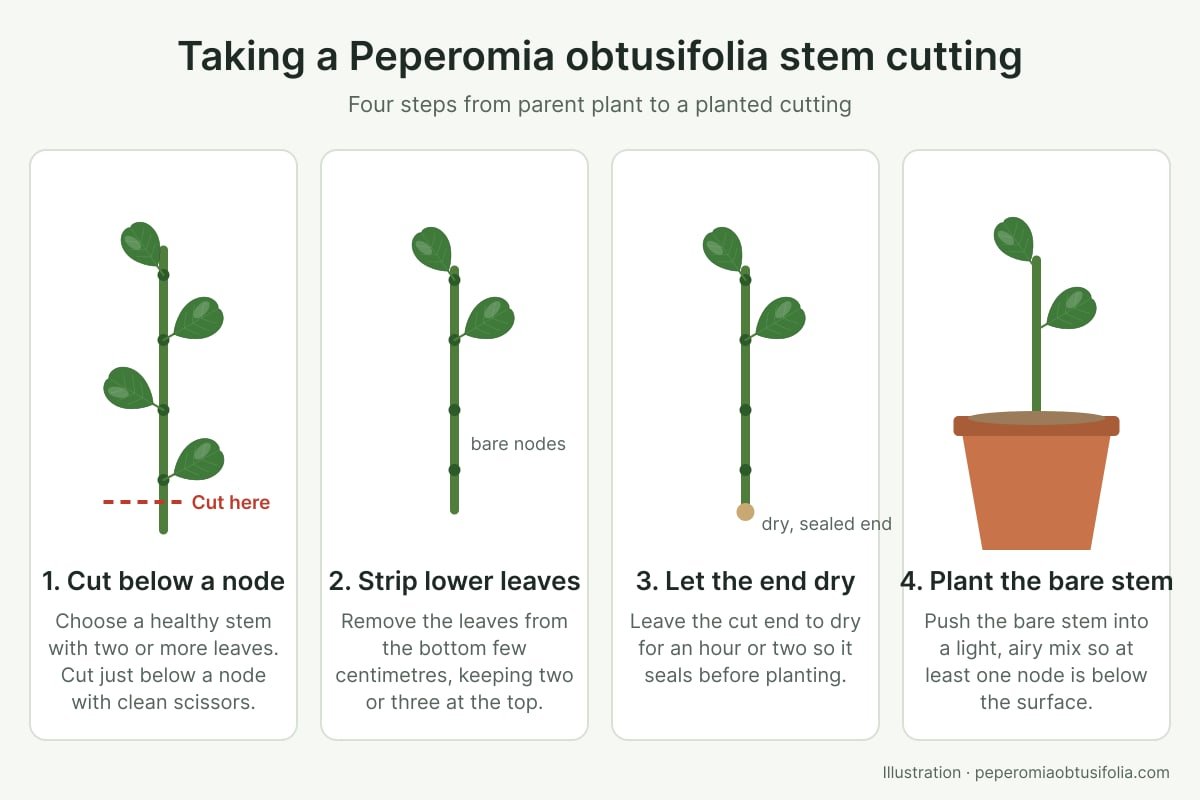
As long as one node and a section of firm stem remain, a short rescued cutting can still root — P. obtusifolia has thick, semi-succulent stems that hold reserves to draw on while it roots (species profile: Missouri Botanical Garden). If every node along the stem is soft, stop trying to chase clean tissue further up and consider a leaf cutting as a last resort — with the caveat that variegated leaf cuttings give all-green plants rather than preserving the parent's pattern (UF/IFAS).
Once a rescued cutting shows roots around 2-3 cm long, pot it into a standard free-draining mix and treat it as a newly established plant — do not fertilise until a new leaf has fully expanded, since a restart still sealing its wound and building its first roots is particularly vulnerable to salt stress. Quarantine the tray away from the rest of a collection until the restart shows firm new roots, since splashed water and shared tools are how these pathogens move between pots. If repeated cutting failures make propagation by stem section frustrating, dividing a mature multi-stem specimen sidesteps the cut-and-callus process entirely, since each division already carries its own established roots.
Prevention and rescue are the same underlying principle applied at different points: a Peperomia cutting does not need to be kept wet to root, it needs its wound properly sealed first. Give the cut surface time to callus before introducing moisture, and most propagation rot in this species simply does not happen.
Care FAQ
Why do Peperomia cuttings turn black in water?
The cut surface was exposed to standing water before a protective callus had formed. Anaerobic pathogens — most often Pythium (an oomycete) or bacterial soft rot — colonise the open wound and degrade the cell walls, producing the characteristic black, soft, foul-smelling tissue. Callusing the cut for 24-48 hours before introducing any moisture is the single most effective prevention.
How long should a Peperomia cutting callus before rooting?
A minimum of 24-48 hours in a dry, shaded spot. The cut end should feel firm and slightly dry — closer to a dry scar than an open wound. A cutting that still looks green and moist at the base after 24 hours is not ready, and placing it in water or medium at that stage is the most common single cause of rot.
Can you save a Peperomia cutting that has started to rot?
Yes, if the rot is localised and you can reach firm, cream or pale-green, odourless tissue by cutting 1-2 cm above the visible margin with a sterilised blade. Callus the new cut for 24-48 hours before re-rooting in fresh medium. Foul-smelling, rapidly liquefying soft rot along most of the stem is usually not worth chasing.
Does changing the water prevent rot in water-propagated cuttings?
Yes. Stagnant water depletes dissolved oxygen and lets bacteria accumulate at the cut surface. Changing the water every 5-7 days, and submerging only the bottom 1-2 cm of stem rather than the whole lower section, keeps the wound site aerated and meaningfully reduces rot risk.